Column Assertions
The Column Assertions feature is available as part of the Acryl Observe module of DataHub Cloud. If you are interested in learning more about Acryl Observe or trying it out, please visit our website.
Introduction
Can you remember a time when an important warehouse table column changed dramatically, with little or no notice? Perhaps the number of null values suddenly spiked, or a new value was added to a fixed set of possible values. If the answer is yes, how did you initially find out? We'll take a guess - someone looking at an internal reporting dashboard or worse, a user using your your product, sounded an alarm when a number looked a bit out of the ordinary.
There are many reasons why important columns in your Snowflake, Redshift, BigQuery, or Databricks tables may change - application code bugs, new feature rollouts, etc. Oftentimes, these changes break important assumptions made about the data used in building key downstream data products like reporting dashboards or data-driven product features.
What if you could reduce the time to detect these incidents, so that the people responsible for the data were made aware of data issues before anyone else? With DataHub Cloud Column Assertions, you can.
With DataHub Cloud, you can define Column Value assertions to ensure each value in a column matches specific constraints, and Column Metric assertions to ensure that computed metrics from columns align with your expectations. As soon as things go wrong, your team will be the first to know, before the data issue becomes a larger data incident.
In this guide, we'll cover the basics of Column Assertions - what they are, how to configure them, and more - so that you and your team can start building trust in your most important data assets.
Let's dive in!
Support
Column Assertions are currently supported for:
- Snowflake
- Redshift
- BigQuery
- Databricks
- DataHub Dataset Profile Metrics (collected via ingestion)
Note that an Ingestion Source must be configured with the data platform of your choice in DataHub Cloud's Ingestion tab.
Note that Column Assertions are not yet supported if you are connecting to your warehouse using the DataHub CLI.
What is a Column Assertion?
A Column Assertion is a highly configurable Data Quality rule used to monitor specific columns of a Data Warehouse table for unexpected changes.
Column Assertions are defined to validate a specific column, and can be used to
- Validate that the values of the column match some constraints (regex, allowed values, max, min, etc) across rows OR
- Validate that specific column aggregation metrics match some expectations across rows.
Column Assertions can be particularly useful for documenting and enforcing column-level "contracts", i.e. formal specifications about the expected contents of a particular column that can be used for coordinating among producers and consumers of the data.
Anatomy of Column Assertion
Column Assertions can be divided into two main types: Column Value and Column Metric Assertions.
A Column Value Assertion is used to monitor the value of a specific column in a table, and ensure that every row adheres to a specific condition. In comparison, a Column Metric Assertion is used to compute a metric for that column, and ensure that the value of that metric adheres to a specific condition.
At the most basic level, both types consist of a few important parts:
- An Evaluation Schedule
- A Column Selection
- A Evaluation Criteria
- A Row Evaluation Type
In this section, we'll give an overview of each.
1. Evaluation Schedule
The Evaluation Schedule: This defines how often to evaluate the Column Assertion against the given warehouse table. This should usually be configured to match the expected change frequency of the table, although it can also be less frequently depending on your requirements. You can also specify specific days of the week, hours in the day, or even minutes in an hour.
2. Column Selection
The Column Selection: This defines the column that should be monitored by the Column Assertion. You can choose from any of the columns from the table listed in the dropdown. Note that columns of struct / object type are not currently supported.
3. Evaluation Criteria
The Evaluation Criteria: This defines the condition that must be satisfied in order for the Column Assertion to pass.
For Column Value Assertions, you will be able to choose from a set of operators that can be applied to the column value. The options presented will vary based on the data type of the selected column. For example, if you've selected a numeric column, you can verify that the column value is greater than a particular value. For string types, you can check that the column value matches a particular regex pattern. Additionally, you are able to control the behavior of the check in the presence of NULL values. If the Allow Nulls option is disabled, then any null values encountered will be reported as a failure when evaluating the assertion. If Allow Nulls is enabled, then nulls will be ignored; the condition will be evaluated for rows where the column value is non-null.
For Column Metric Assertions, you will be able to choose from a list of common column metrics - MAX, MIN, MEAN, NULL COUNT, etc - and then compare these metric values to an expected value. The list of metrics will vary based on the type of the selected column. For example if you've selected a numeric column, you can choose to compute the MEAN value of the column, and then assert that it is greater than a specific number. For string types, you can choose to compute the MAX LENGTH of the string across all column values, and then assert that it is less than a specific number.
4. Row Selection Set
The Row Selection Set: This defines which rows in the table the Column Assertion will be evaluated across. You can choose from the following options:
All Table Rows: Evaluate the Column Assertion across all rows in the table. This is the default option. Note that this may not be desirable for large tables.
Only Rows That Have Changed: Evaluate the Column Assertion only against rows that have changed since the last evaluation of the assertion. If you choose this option, you will need to specify a High Watermark Column to help determine which rows have changed. A High Watermark Column is a column that contains a constantly incrementing value - a date, a time, or another always-increasing number - that can be used to find the "new rows" that were added since previous evaluation. When selected, a query will be issued to the table to find only the rows that have changed since the previous assertion evaluation.
Creating a Column Assertion
Prerequisites
Permissions: To create or delete Column Assertions for a specific entity on DataHub, you'll need to be granted the
Edit AssertionsandEdit Monitorsprivileges for the entity. This will be granted to Entity owners as part of theAsset Owners - Metadata Policyby default.(Optional) Data Platform Connection: In order to create a Column Assertion that queries the data source directly (instead of DataHub metadata), you'll need to have an Ingestion Source configured to your Data Platform: Snowflake, BigQuery, or Redshift under the Ingestion tab.
Once these are in place, you're ready to create your Column Assertions!
Steps
- Navigate to the Table that you want to monitor
- Click the Validations tab
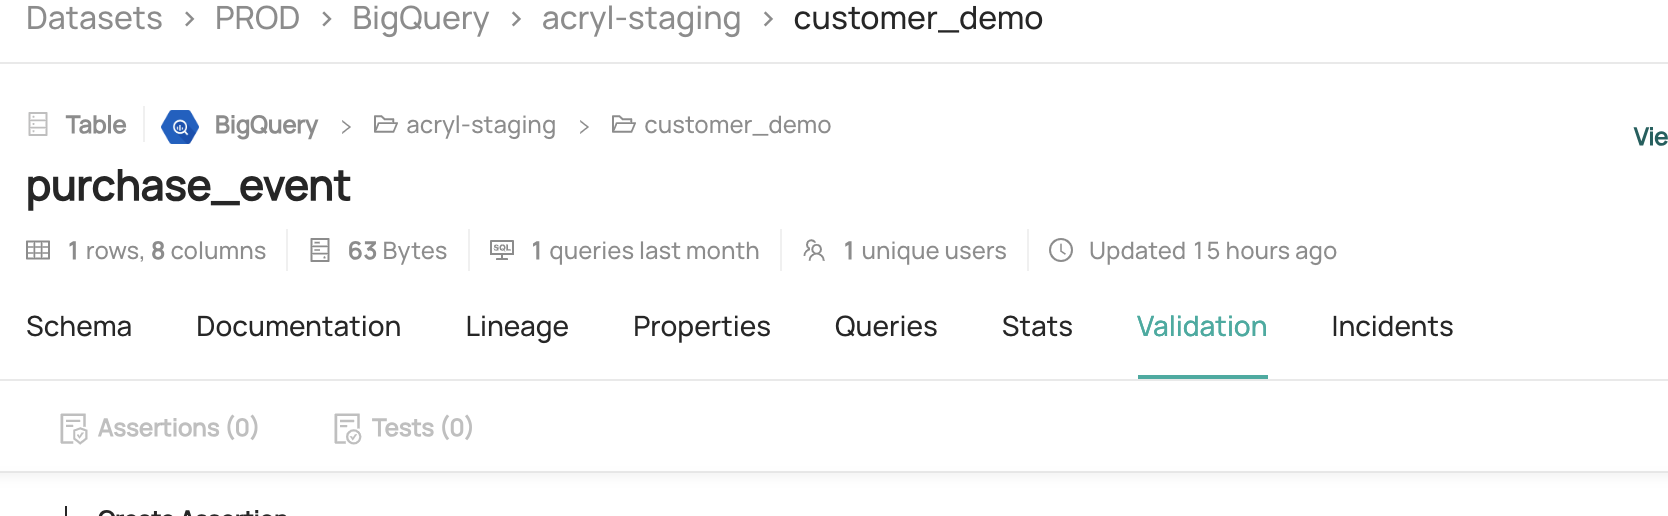
- Click + Create Assertion
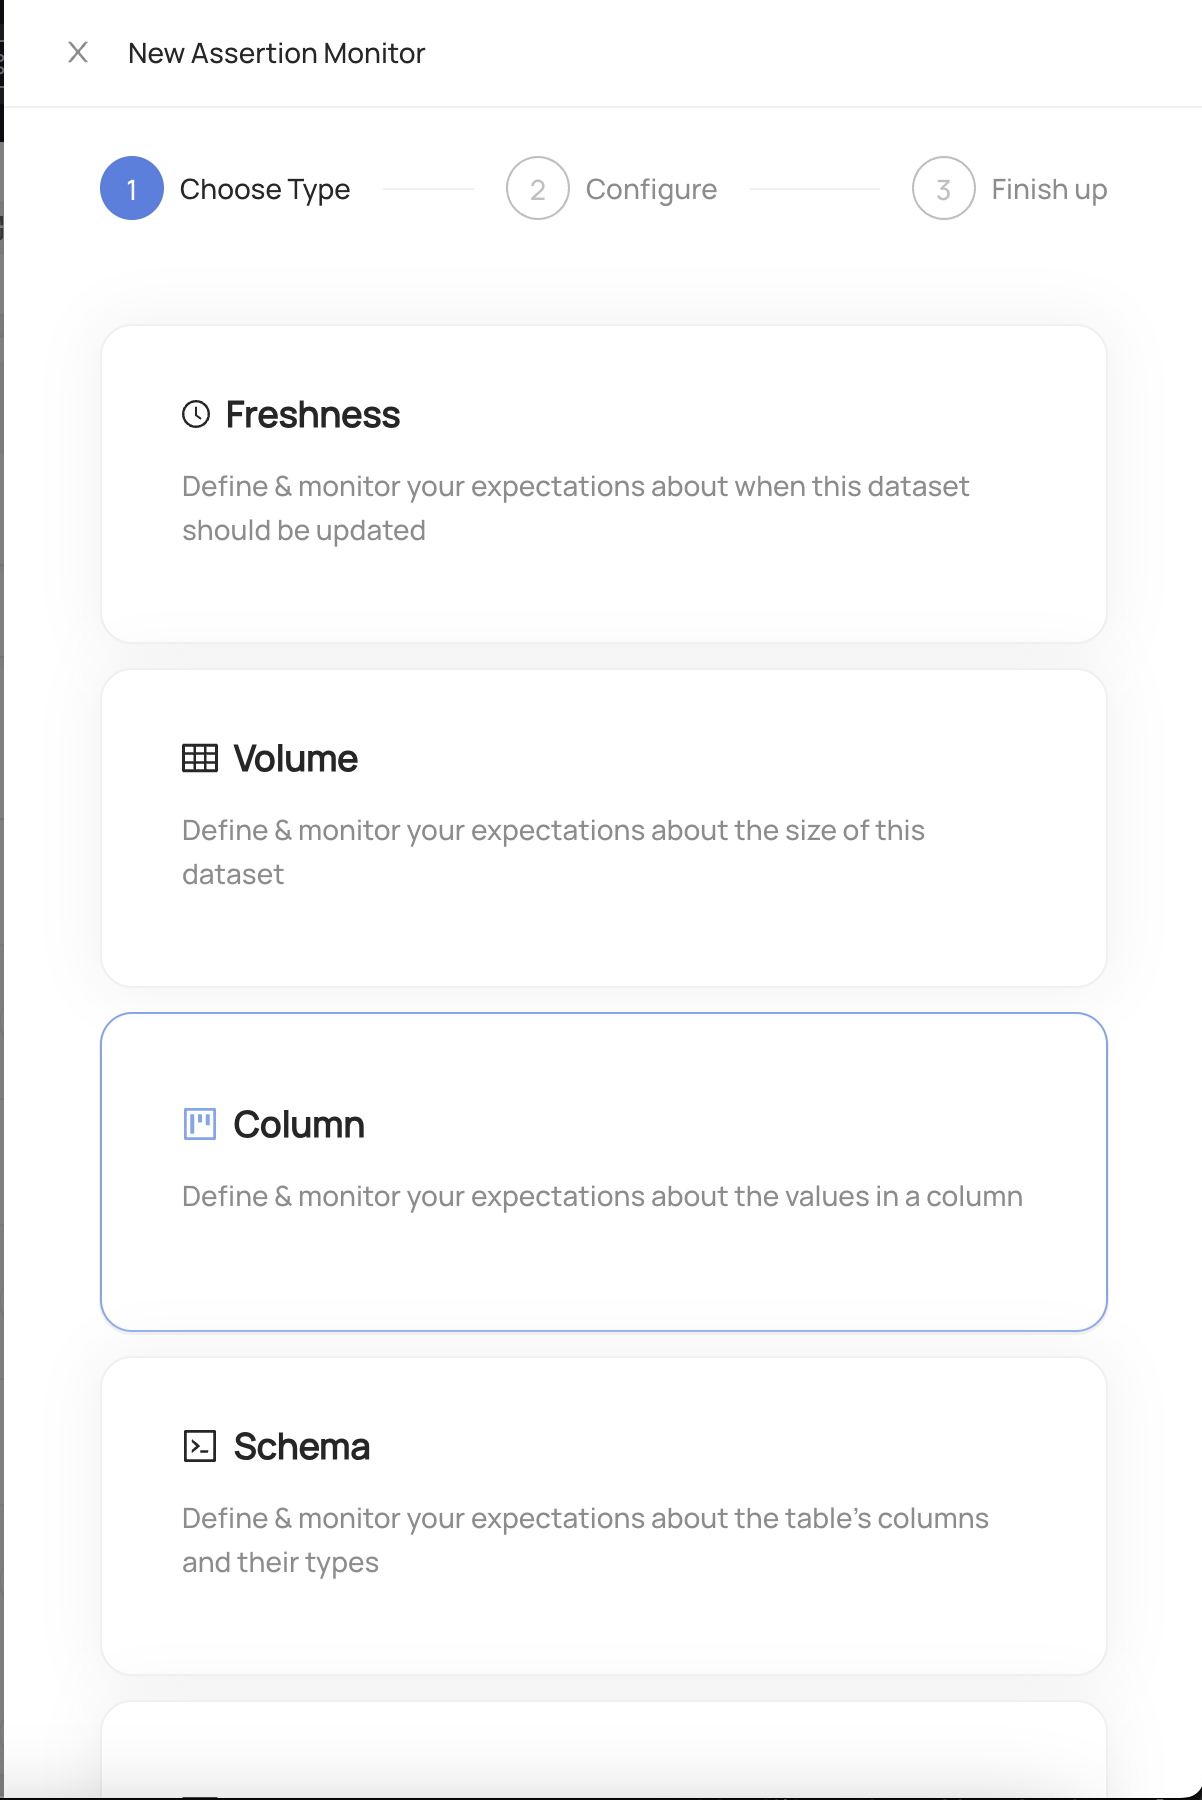
Choose Column
Configure the evaluation schedule. This is the frequency at which the assertion will be evaluated to produce a pass or fail result, and the times when the column values will be checked.
Configure the column assertion type. You can choose from Column Value or Column Metric. Column Value assertions are used to monitor the value of a specific column in a table, and ensure that every row adheres to a specific condition. Column Metric assertions are used to compute a metric for that column, and then compare the value of that metric to your expectations.

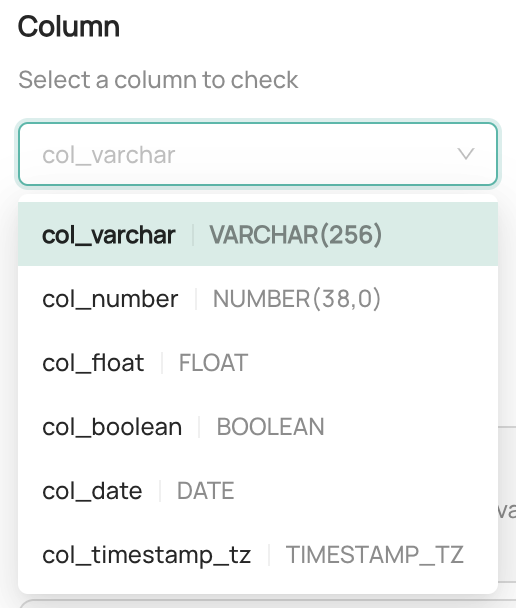
- Configure the column selection. This defines the column that should be monitored by the Column Assertion. You can choose from any of the columns from the table listed in the dropdown.
Configure the evaluation criteria. This step varies based on the type of assertion you chose in the previous step.
Column Value Assertions: You will be able to choose from a set of operators that can be applied to the column value. The options presented will vary based on the data type of the selected column. For example with numeric types, you can check that the column value is greater than a specific value. For string types, you can check that the column value matches a particular regex pattern. You will also be able to control the behavior of null values in the column. If the Allow Nulls option is disabled, any null values encountered will be reported as a failure when evaluating the assertion.
Column Metric Assertions: You will be able to choose from a list of common metrics and then specify the operator and value to compare against. The list of metrics will vary based on the data type of the selected column. For example with numeric types, you can choose to compute the average value of the column, and then assert that it is greater than a specific number. For string types, you can choose to compute the max length of all column values, and then assert that it is less than a specific number.
Configure the row evaluation type. This defines which rows in the table the Column Assertion should evaluate. You can choose from the following options:
All Table Rows: Evaluate the Column Assertion against all rows in the table. This is the default option. Note that this may not be desirable for large tables.
Only Rows That Have Changed: Evaluate the Column Assertion only against rows that have changed since the last evaluation. If you choose this option, you will need to specify a High Watermark Column to help determine which rows have changed. A High Watermark Column is a column that contains a constantly-incrementing value - a date, a time, or another always-increasing number. When selected, a query will be issued to the table find only the rows which have changed since the last assertion run.

(Optional) Click Advanced to further customize the Column Assertion. The options listed here will vary based on the type of assertion you chose in the previous step.
Invalid Values Threshold: For Column Value assertions, you can configure the number of invalid values (i.e. rows) that are allowed to fail before the assertion is marked as failing. This is useful if you want to allow a limited number of invalid values in the column. By default this is 0, meaning the assertion will fail if any rows have an invalid column value.
Source: For Column Metric assertions, you can choose the mechanism that will be used to obtain the column metric. Query will issue a query to the dataset to compute the metric. DataHub Dataset Profile will use the DataHub Dataset Profile metadata to compute the metric. Note that this option requires that dataset profiling statistics are up-to-date as of the assertion run time.
Additional Filters: You can choose to add additional filters to the query that will be used to evaluate the assertion. This is useful if you want to limit the assertion to a subset of rows in the table. Note this option will not be available if you choose DataHub Dataset Profile as the source.
Configure actions that should be taken when the Column Assertion passes or fails
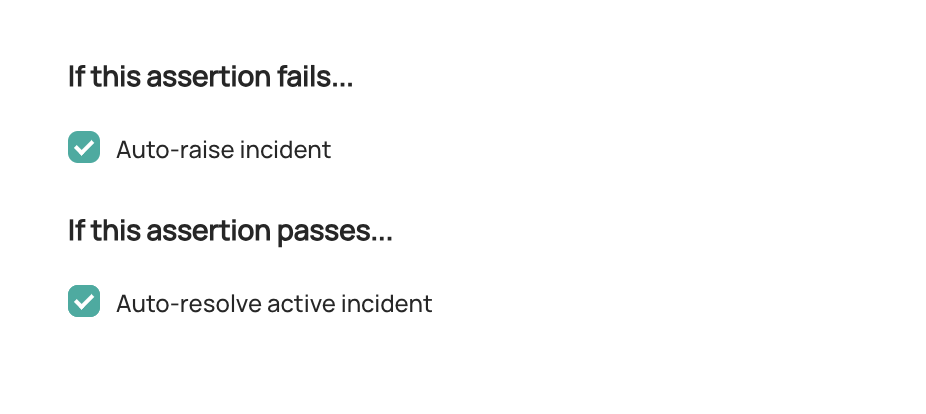
- Raise incident: Automatically raise a new DataHub
ColumnIncident for the Table whenever the Column Assertion is failing. This may indicate that the Table is unfit for consumption. Configure Slack Notifications under Settings to be notified when an incident is created due to an Assertion failure. - Resolve incident: Automatically resolved any incidents that were raised due to failures in this Column Assertion. Note that any other incidents will not be impacted.
- Click Next and then Save.
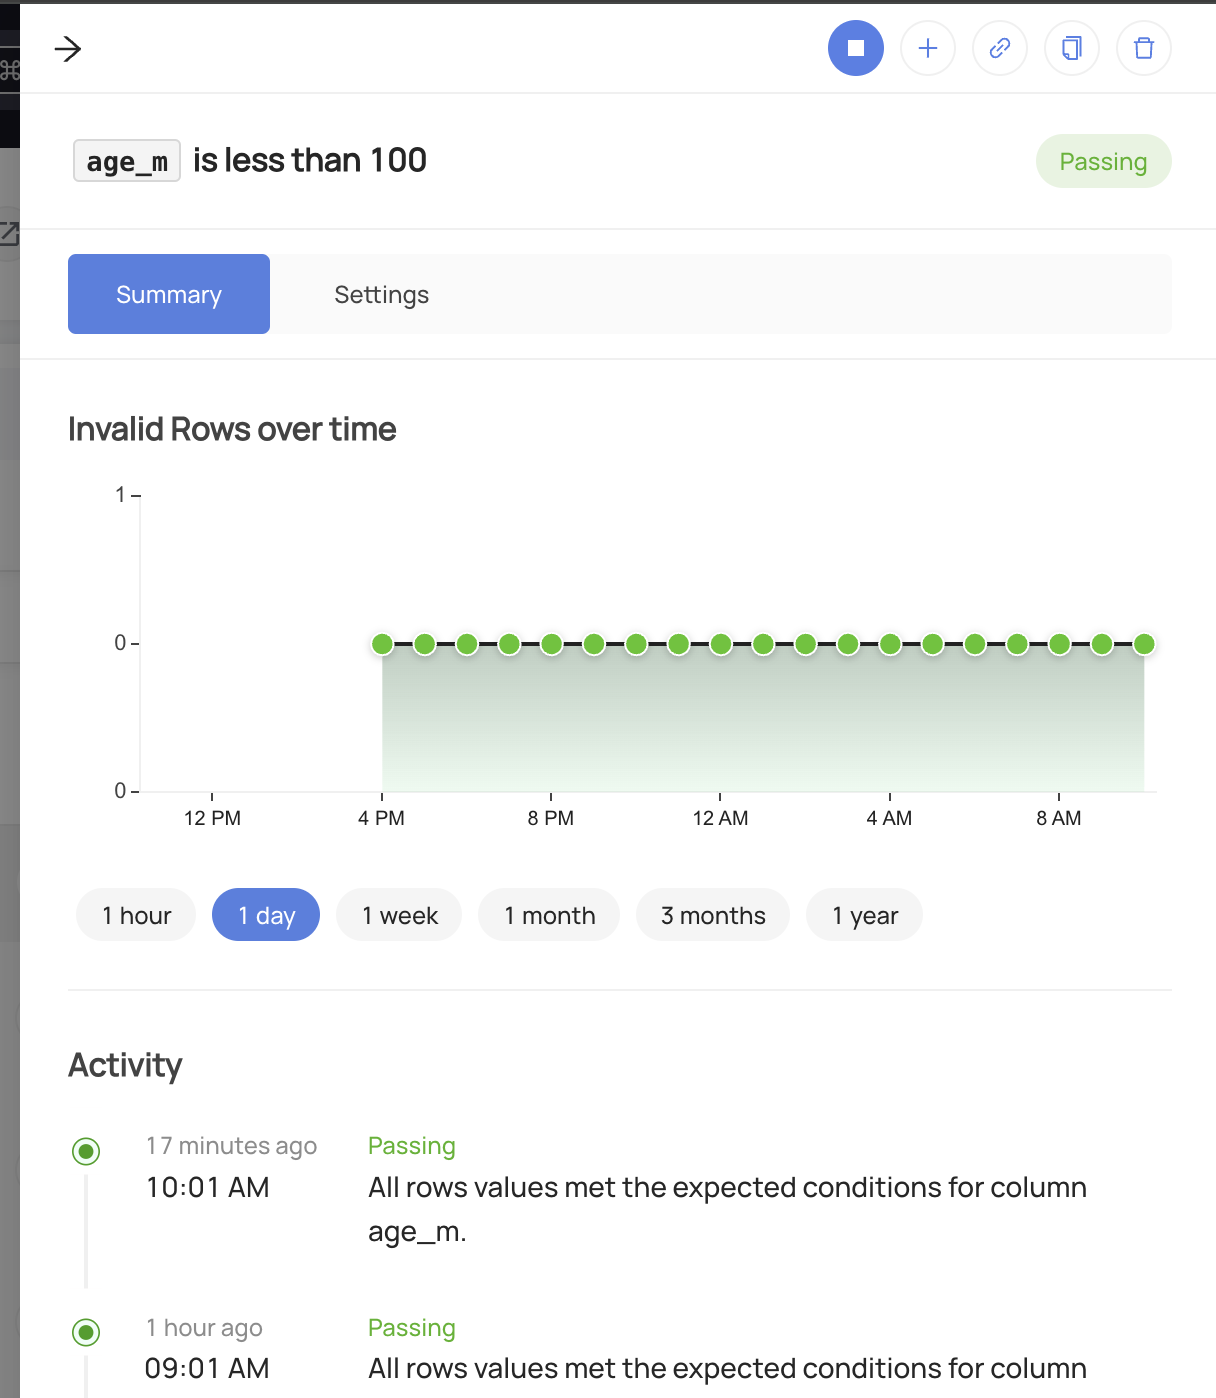
And that's it! DataHub will now begin to monitor your Column Assertion for the table.
Once your assertion has run, you will begin to see Success or Failure status for the Table
Stopping a Column Assertion
In order to temporarily stop the evaluation of the assertion:
- Navigate to the Validations tab of the Table with the assertion
- Click Column to open the Column Assertion assertions
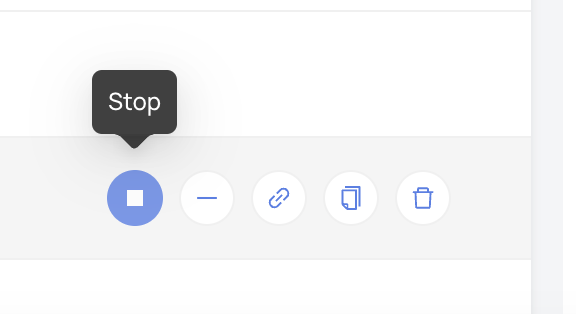
- Click the "Stop" button for the assertion you wish to pause.
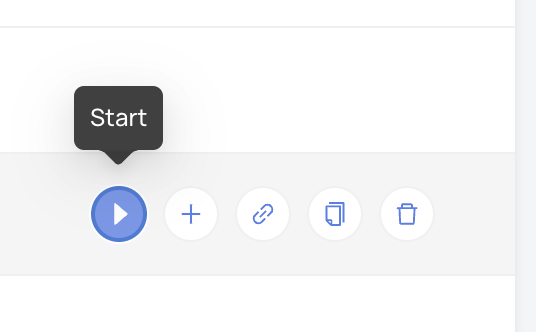
To resume the assertion, simply click Start.
Creating Column Assertions via API
Under the hood, DataHub Cloud implements Column Assertion Monitoring using two concepts:
- Assertion: The specific expectation for the column metric. e.g. "The value of an integer column is greater than 10 for all rows in the table." This is the "what".
- Monitor: The process responsible for evaluating the Assertion on a given evaluation schedule and using specific mechanisms. This is the "how".
Note that to create or delete Assertions and Monitors for a specific entity on DataHub, you'll need the
Edit Assertions and Edit Monitors privileges for it.
GraphQL
In order to create or update a Column Assertion, you can the upsertDatasetColumnAssertionMonitor mutation.
Examples
Creating a Field Values Column Assertion that runs every 8 hours:
mutation upsertDatasetFieldAssertionMonitor {
  upsertDatasetFieldAssertionMonitor(
    input: {
      entityUrn: "<urn of entity being monitored>"
      type: FIELD_VALUES,
      fieldValuesAssertion: {
        field: {
          path: "<name of the column to be monitored>",
          type: "NUMBER",
          nativeType: "NUMBER(38,0)"
        },
        operator: GREATER_THAN,
        parameters: {
          value: {
            type: NUMBER,
            value: "10"
          }
        },
        failThreshold: {
          type: COUNT,
          value: 0
        },
        excludeNulls: true
      }
      evaluationSchedule: {
        timezone: "America/Los_Angeles"
        cron: "0 */8 * * *"
      }
      evaluationParameters: {
        sourceType: ALL_ROWS_QUERY
      }
      mode: ACTIVE
    }
  ) {
    urn
  }
}
You can use same endpoint with assertion urn input to update an existing Column Assertion and corresponding Monitor.
mutation upsertDatasetFieldAssertionMonitor {
  upsertDatasetFieldAssertionMonitor(
    assertionUrn: "<urn of assertion created in earlier query>"
    input: {
      entityUrn: "<urn of entity being monitored>"
      type: FIELD_VALUES,
      fieldValuesAssertion: {
        field: {
          path: "<name of the column to be monitored>",
          type: "NUMBER",
          nativeType: "NUMBER(38,0)"
        },
        operator: GREATER_THAN_OR_EQUAL_TO,
        parameters: {
          value: {
            type: NUMBER,
            value: "10"
          }
        },
        failThreshold: {
          type: COUNT,
          value: 0
        },
        excludeNulls: true
      }
      evaluationSchedule: {
        timezone: "America/Los_Angeles"
        cron: "0 */8 * * *"
      }
      evaluationParameters: {
        sourceType: ALL_ROWS_QUERY
      }
      mode: ACTIVE
    }
  ) {
    urn
  }
}
You can delete assertions along with their monitors using GraphQL mutations: deleteAssertion and deleteMonitor.
Tips
Authorization
Remember to always provide a DataHub Personal Access Token when calling the GraphQL API. To do so, just add the 'Authorization' header as follows:
Authorization: Bearer <personal-access-token>
Exploring GraphQL API
Also, remember that you can play with an interactive version of the Acryl GraphQL API at https://your-account-id.acryl.io/api/graphiql