Configuring Your Snowflake Connector to DataHub
Now that you have created a DataHub-specific user with the relevant roles in Snowflake in the prior step, it's now time to set up a connection via the DataHub UI.
Configure Secrets
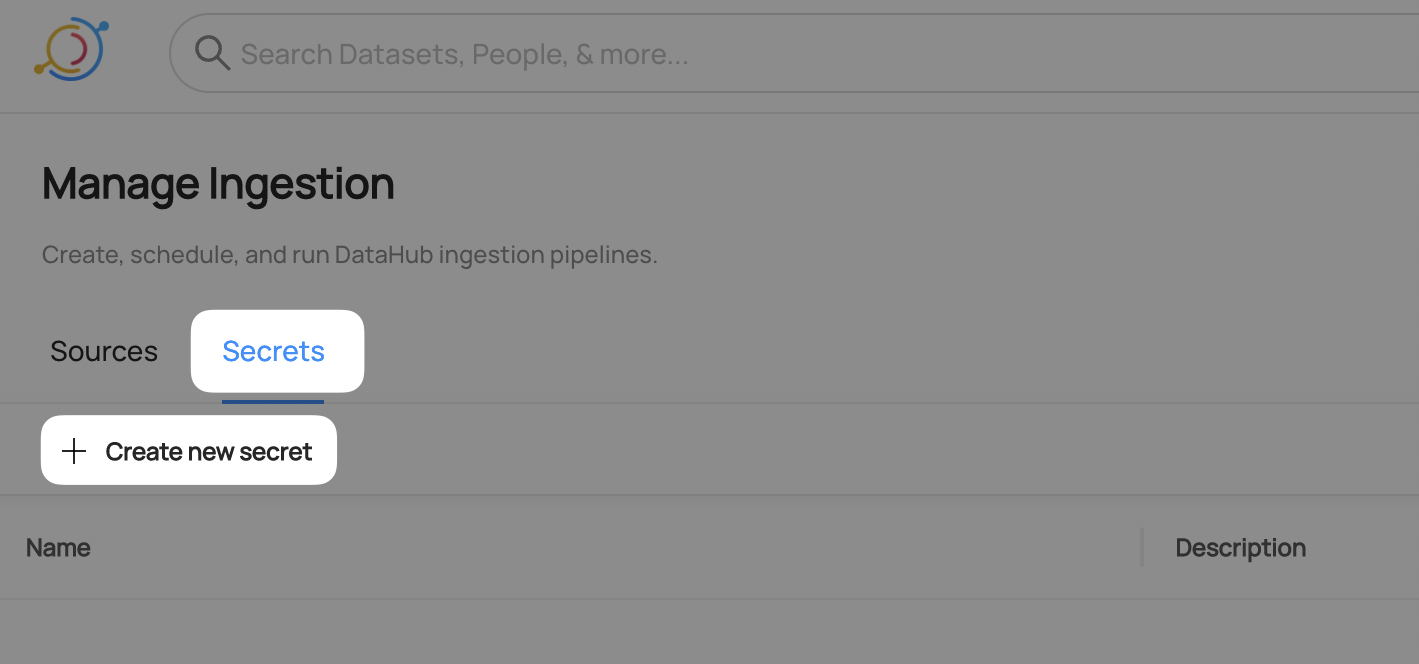
- Within DataHub, navigate to the Ingestion tab in the top, right corner of your screen

If you do not see the Ingestion tab, please contact your DataHub admin to grant you the correct permissions
- Navigate to the Secrets tab and click Create new secret
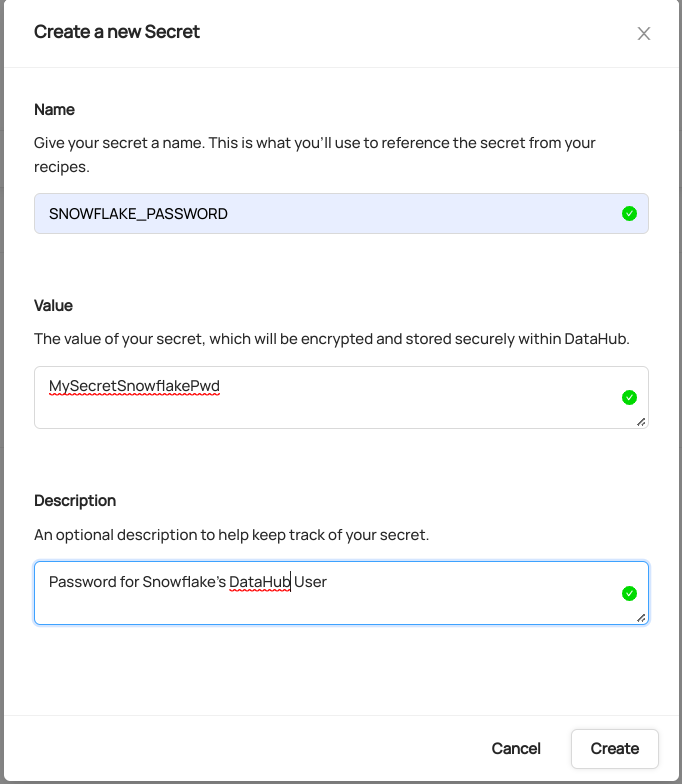
Create a Password secret
This will securely store your Snowflake password within DataHub
- Enter a name like
SNOWFLAKE_PASSWORD- we will use this later to refer to the secret - Enter the password configured for the DataHub user in the previous step
- Optionally add a description
- Click Create
- Enter a name like
Configure Recipe
- Navigate to the Sources tab and click Create new source
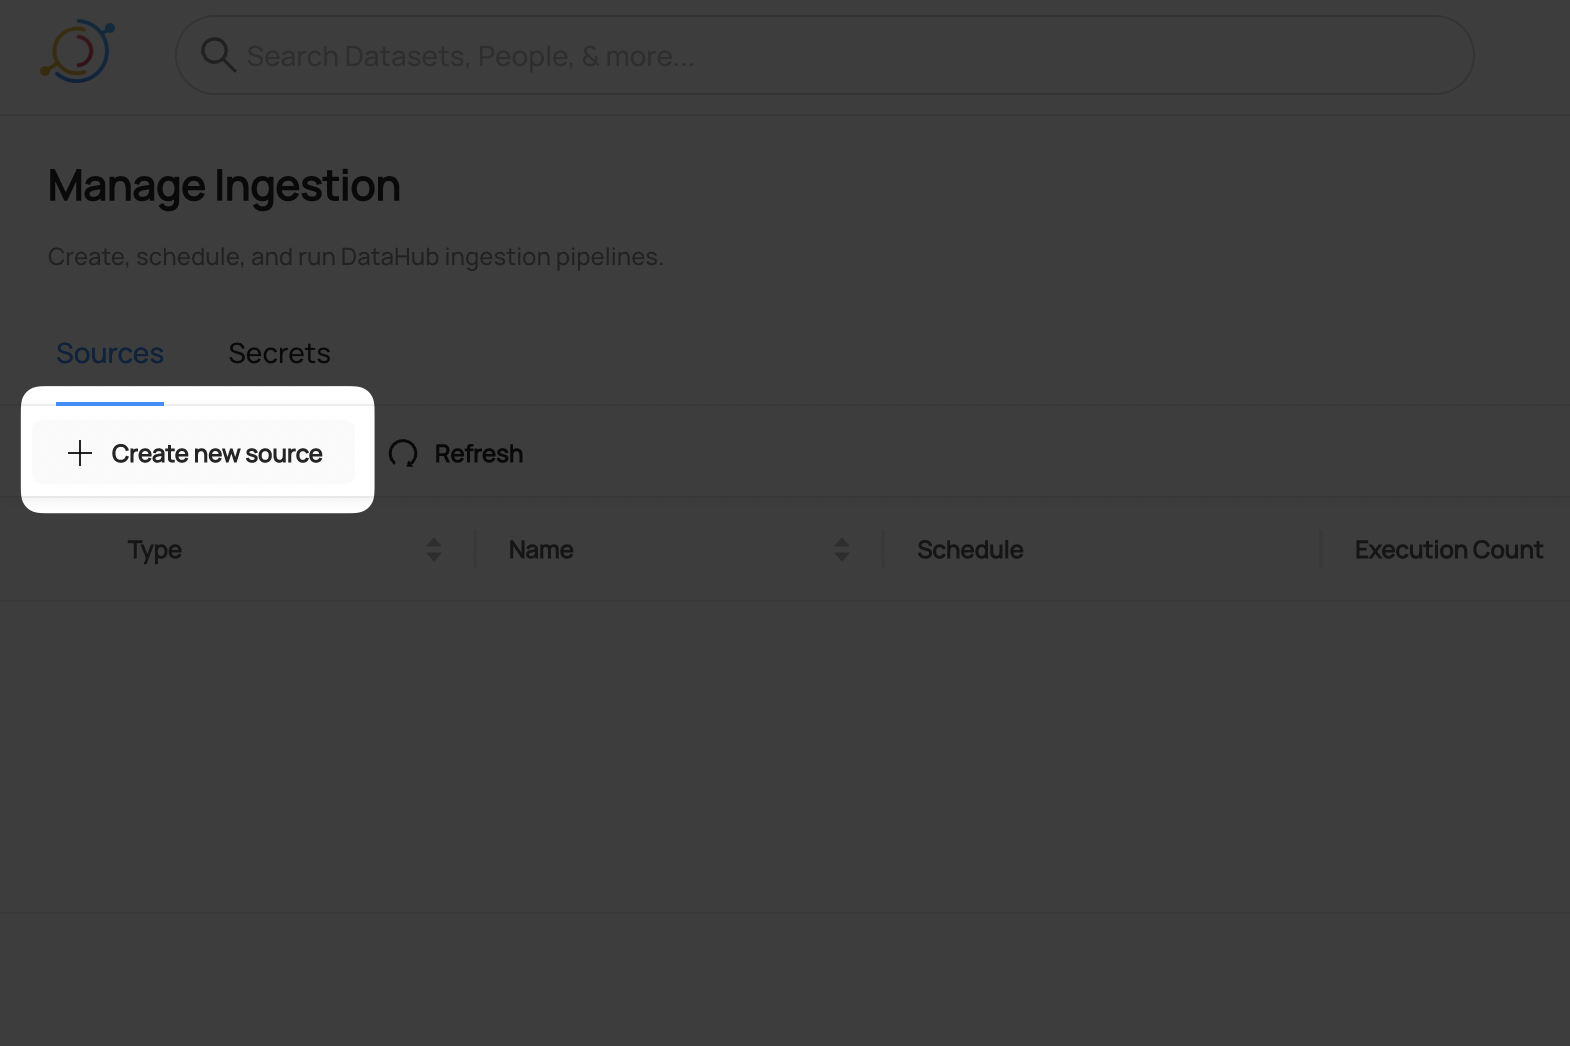
- Select Snowflake

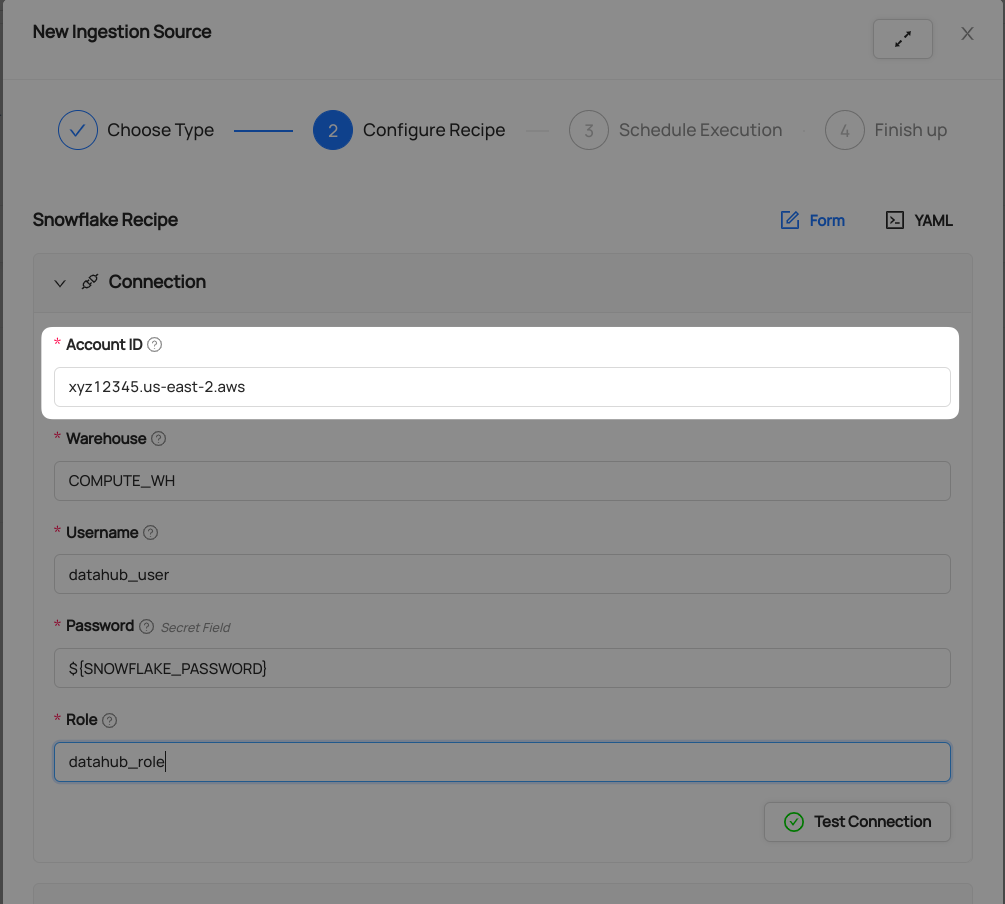
- Fill out the Snowflake Recipe
Enter the Snowflake Account Identifier as Account ID field. Account identifier is the part before .snowflakecomputing.com in your snowflake host URL:
Learn more about Snowflake Account Identifiers here
Add the previously added Password secret to Password field:
- Click on the Password input field
- Select
SNOWFLAKE_PASSWORDsecret
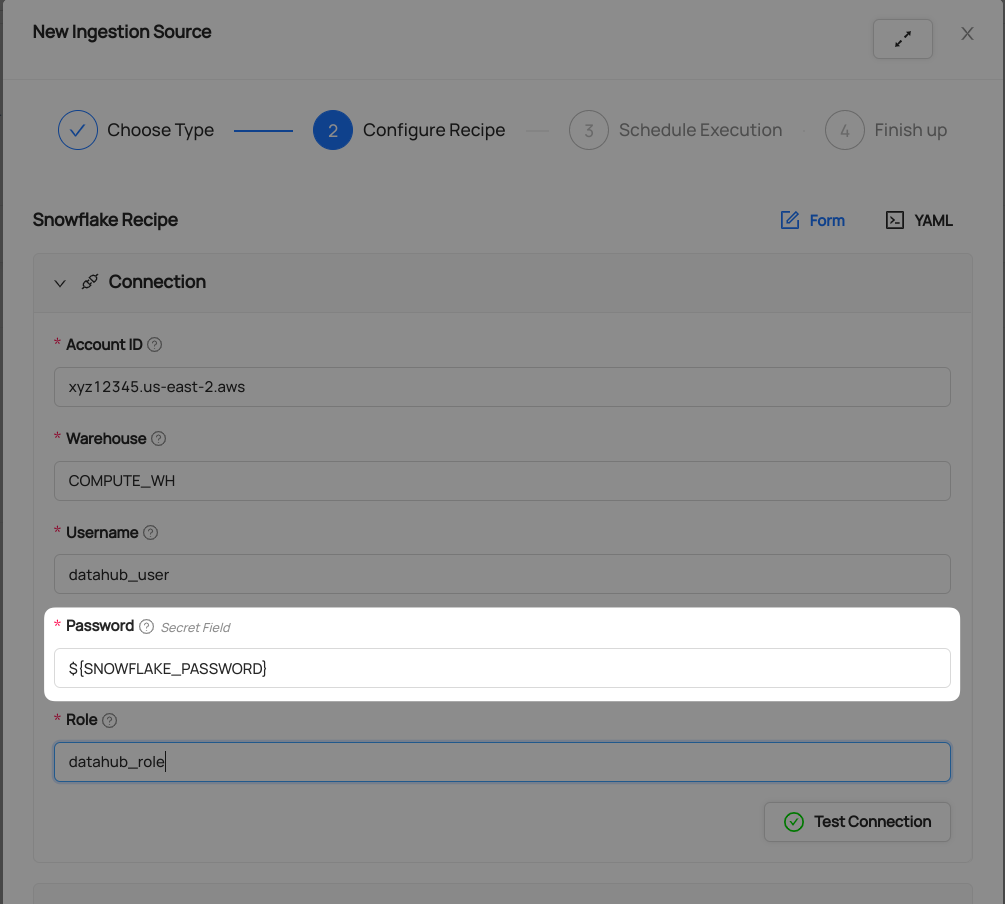
Populate the relevant fields using the same Username, Role, and Warehouse you created and/or specified in Snowflake Prerequisites.

- Click Test Connection
This step will ensure you have configured your credentials accurately and confirm you have the required permissions to extract all relevant metadata.
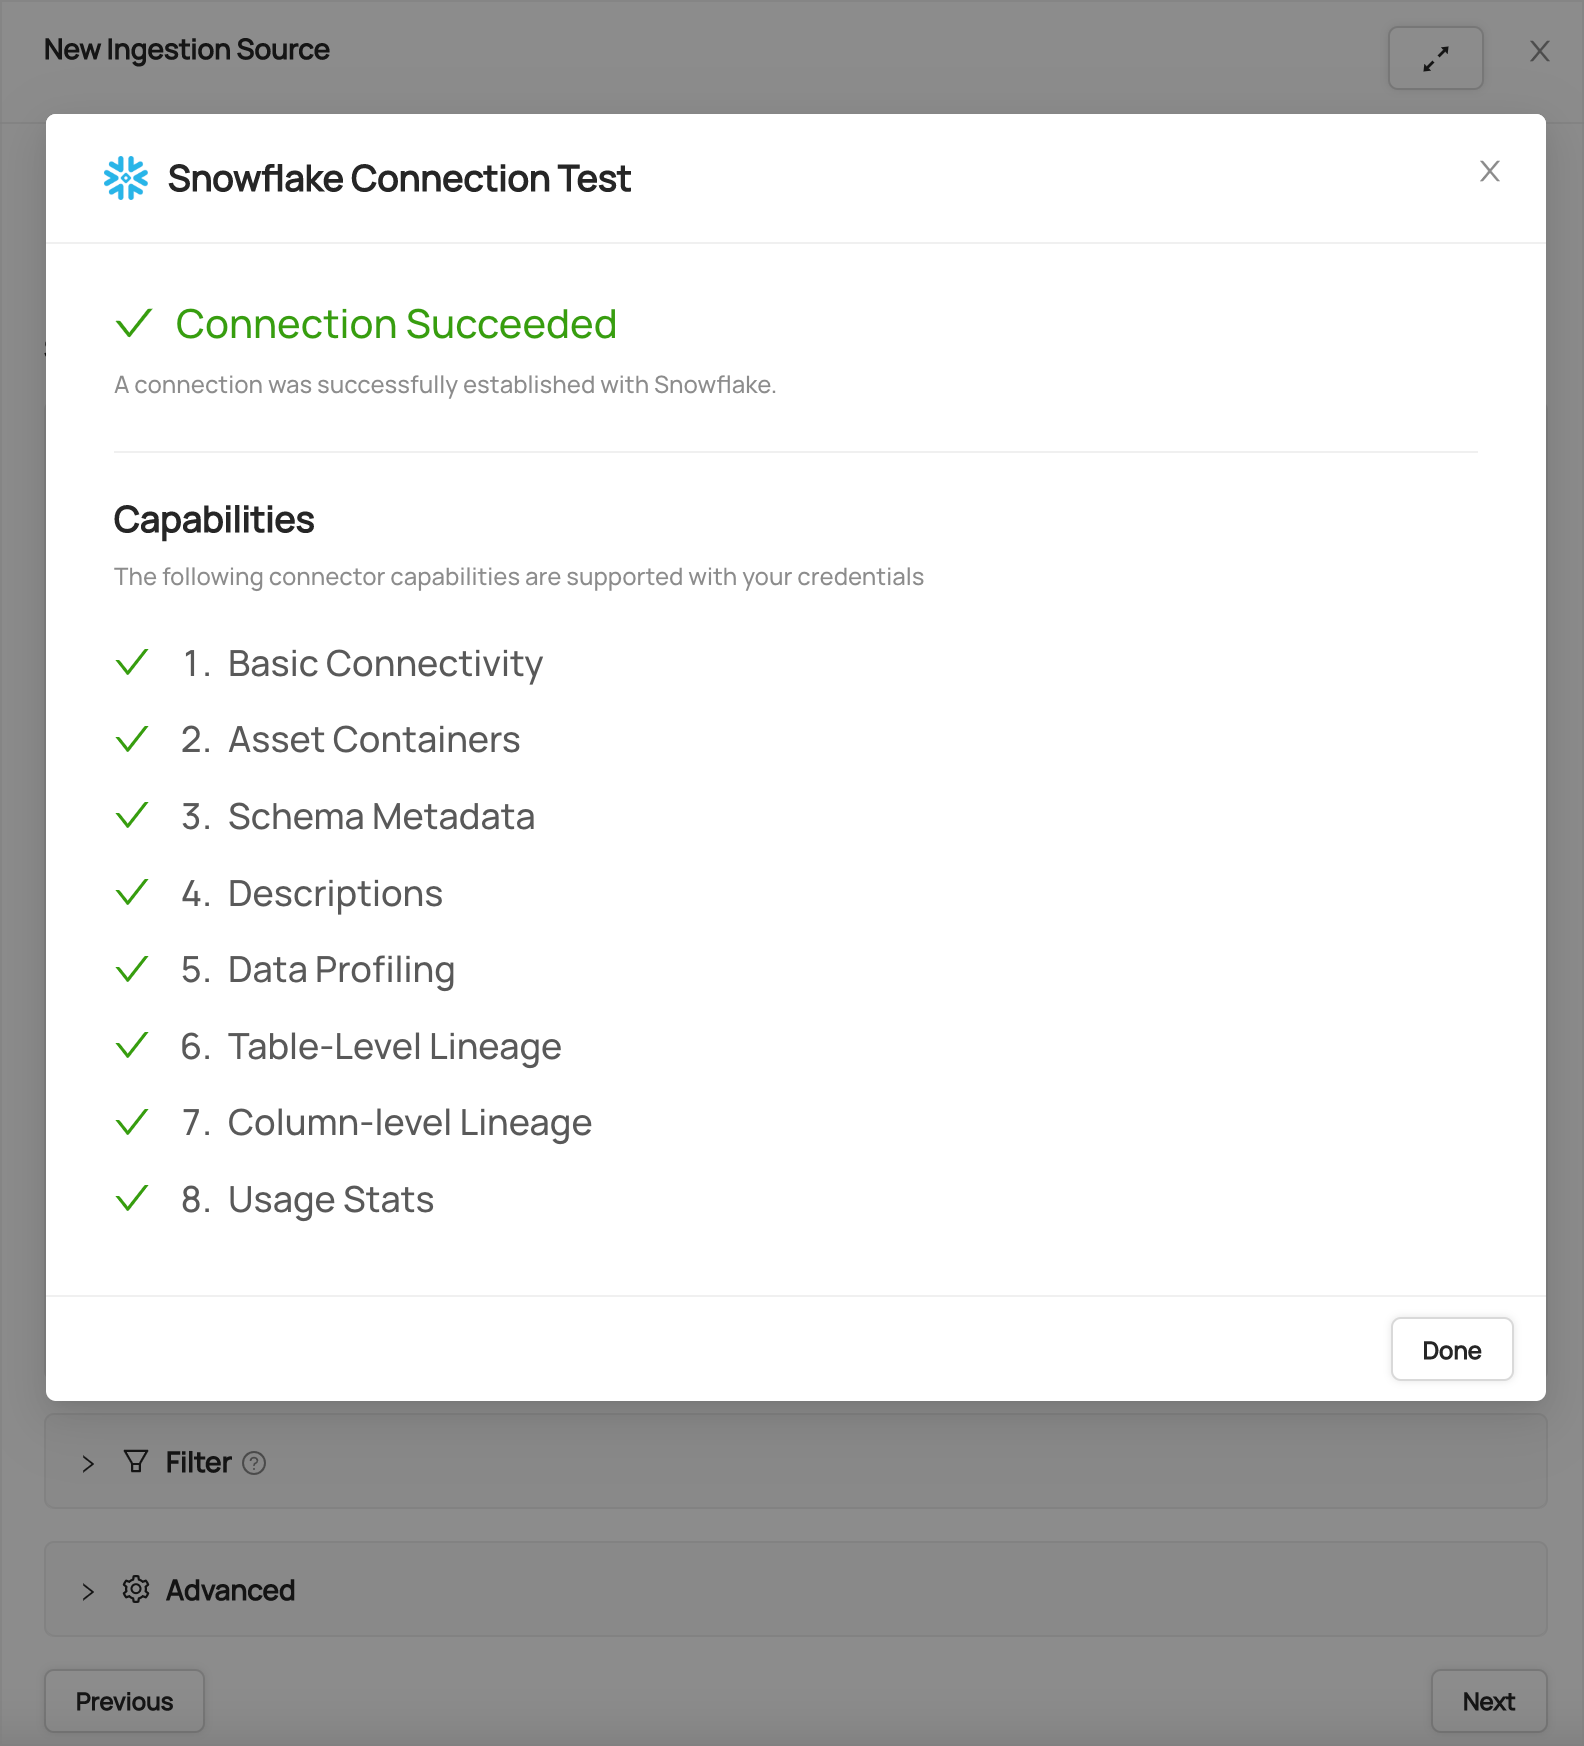
After you have successfully tested your connection, click Next.
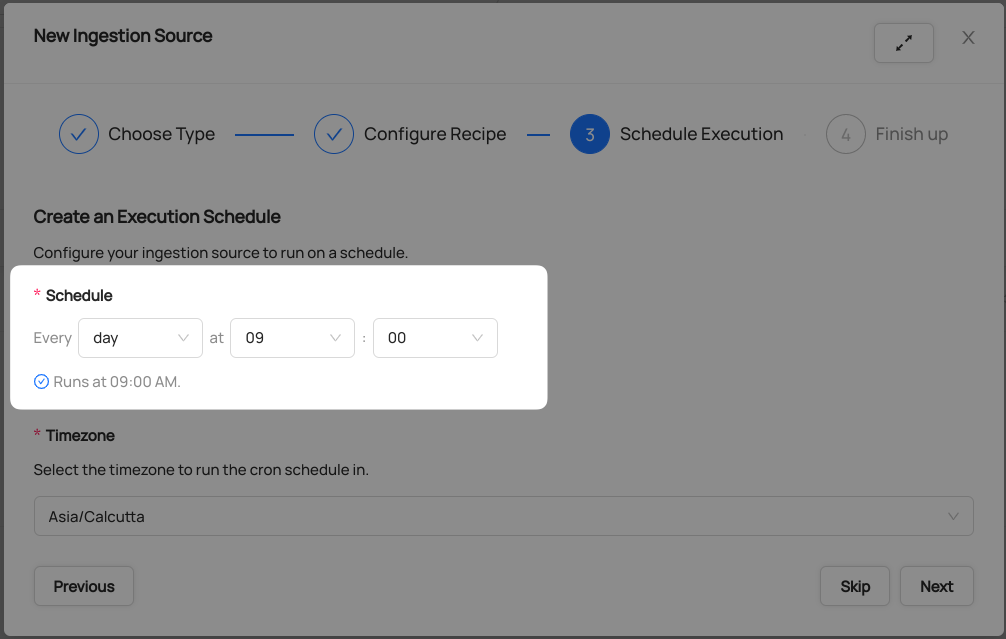
Schedule Execution
Now it's time to schedule a recurring ingestion pipeline to regularly extract metadata from your Snowflake instance.
- Decide how regularly you want this ingestion to run-- day, month, year, hour, minute, etc. Select from the dropdown
Ensure you've configured your correct timezone
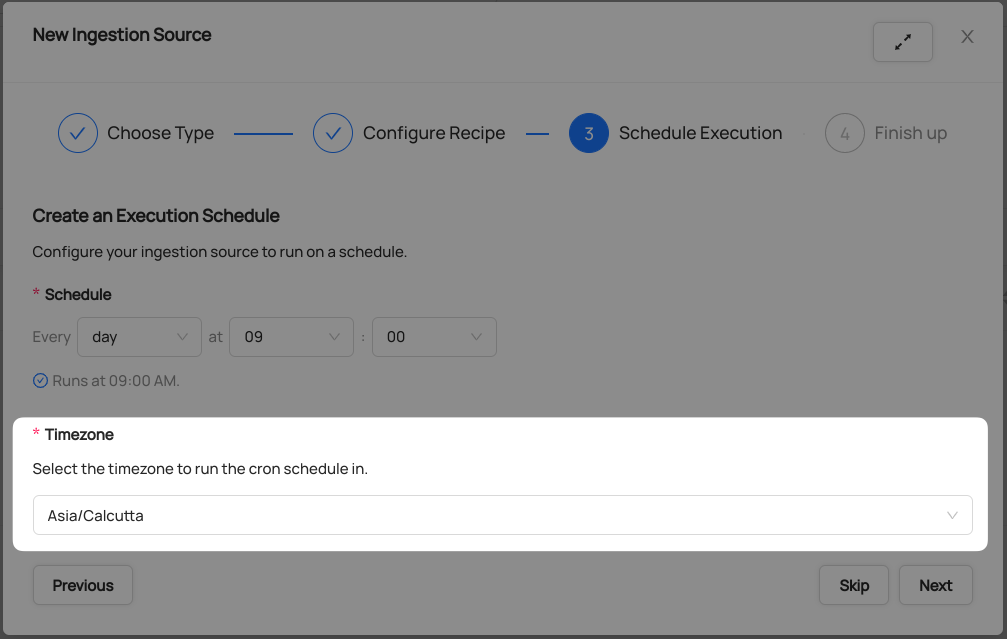
Click Next when you are done
Finish Up
- Name your ingestion source, then click Save and Run
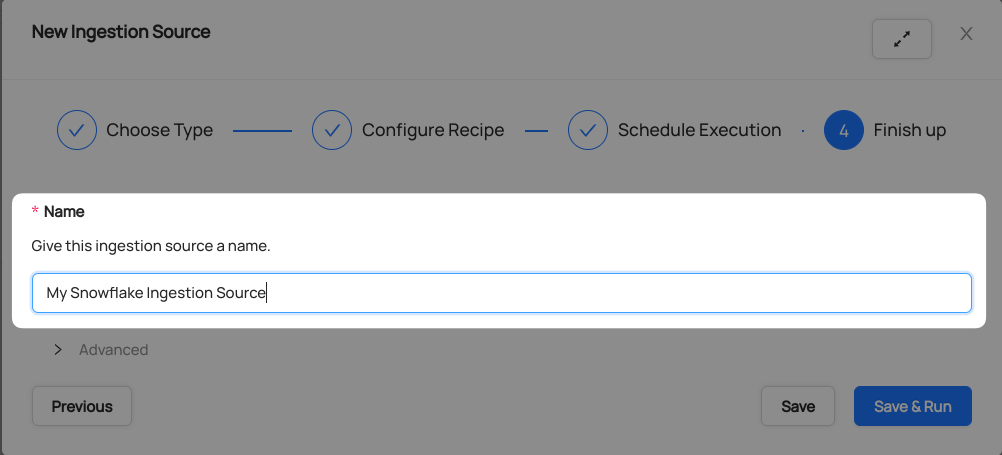
You will now find your new ingestion source running
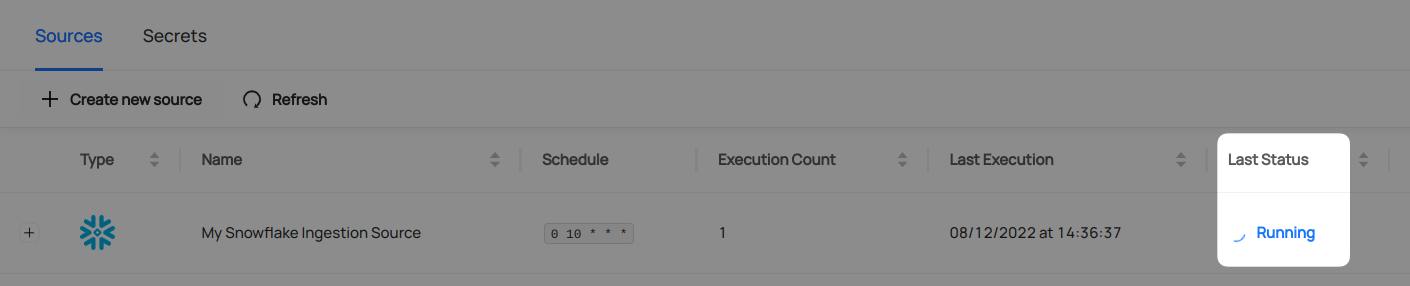
Validate Ingestion Runs
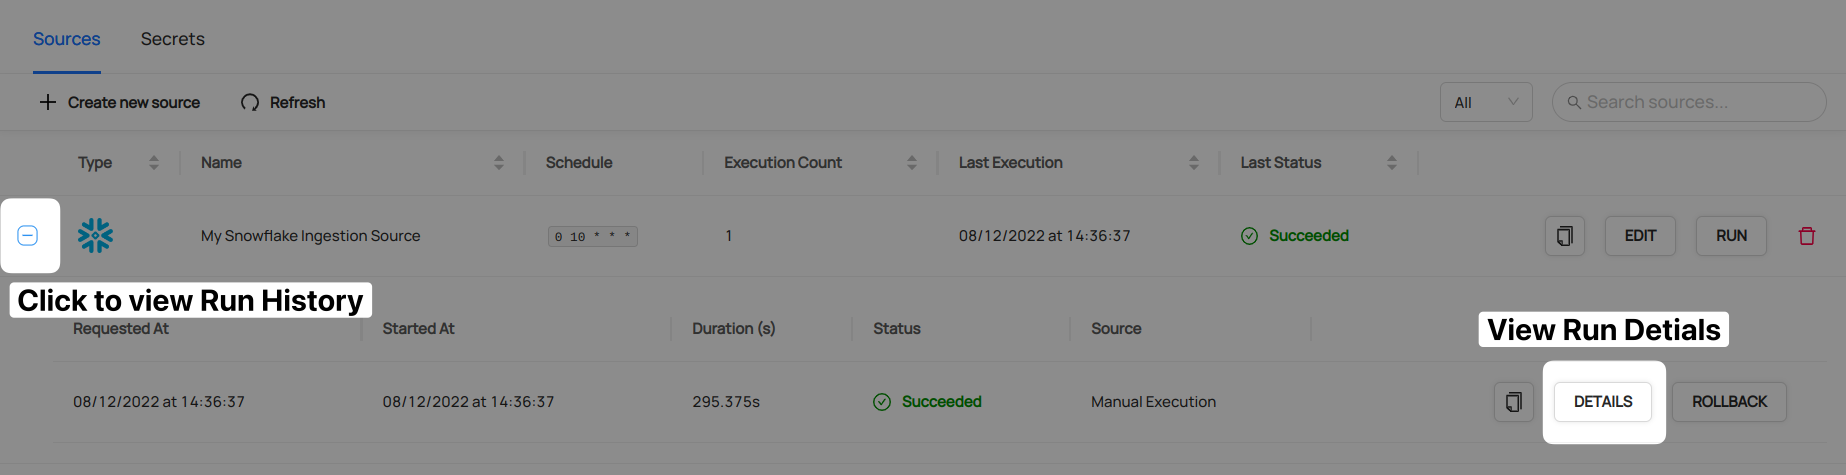
- View the latest status of ingestion runs on the Ingestion page

- Click the plus sign to expand the full list of historical runs and outcomes; click Details to see the outcomes of a specific run
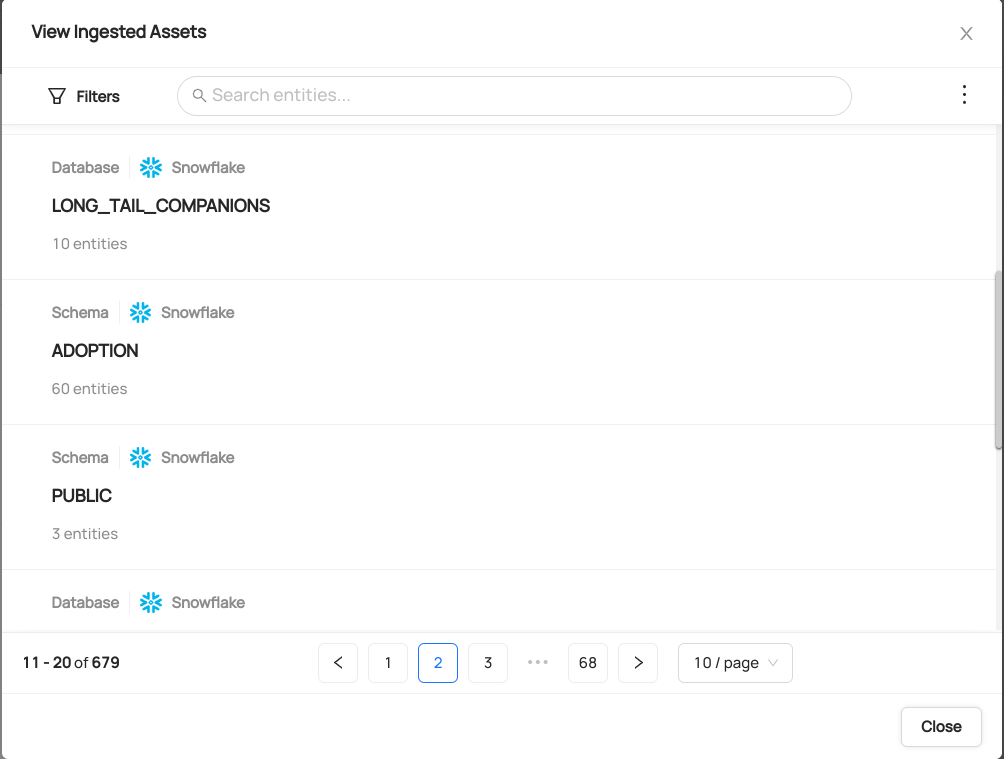
- From the Ingestion Run Details page, pick View All to see which entities were ingested
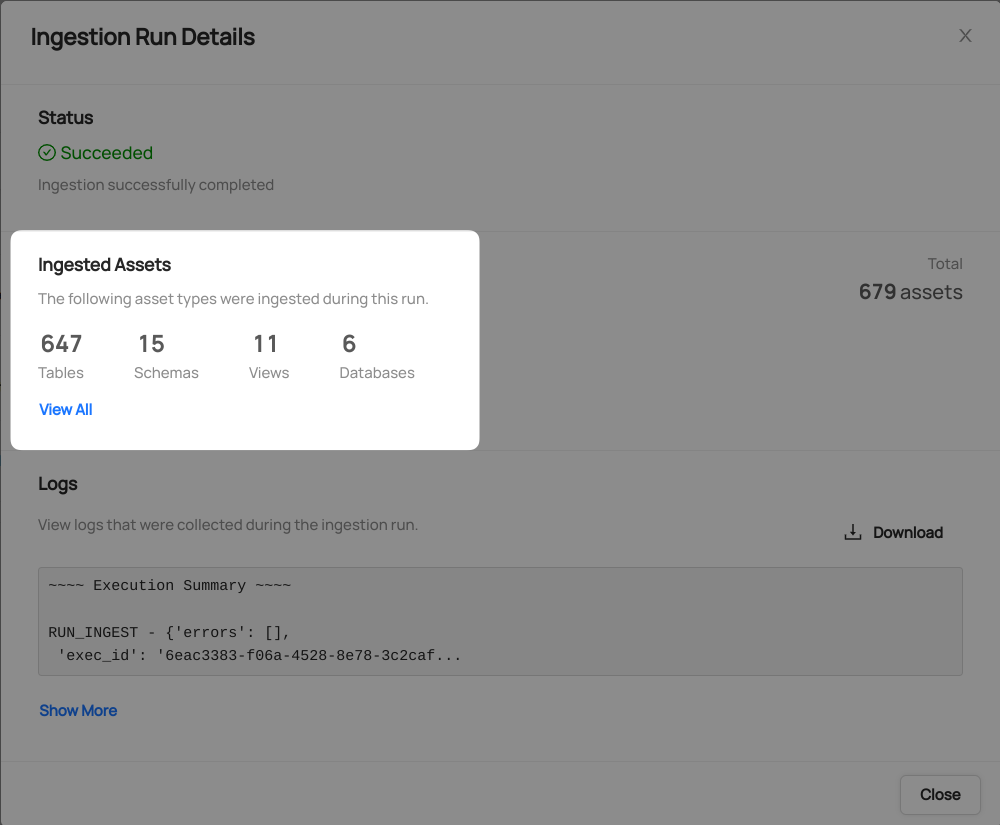
- Pick an entity from the list to manually validate if it contains the detail you expected
Congratulations! You've successfully set up Snowflake as an ingestion source for DataHub!