Looker & LookML Ingestion Guide: Setup
Looker Prerequisites
To configure ingestion from Looker, you'll first have to ensure you have an API key to access the Looker resources.
Login To Looker Instance
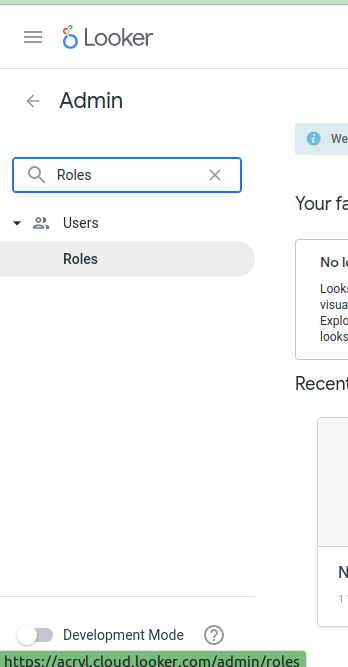
Login to your Looker instance(e.g. https://<your-looker-instance-name>.cloud.looker.com).
Navigate to Admin Panel & click Roles to open Roles Panel.

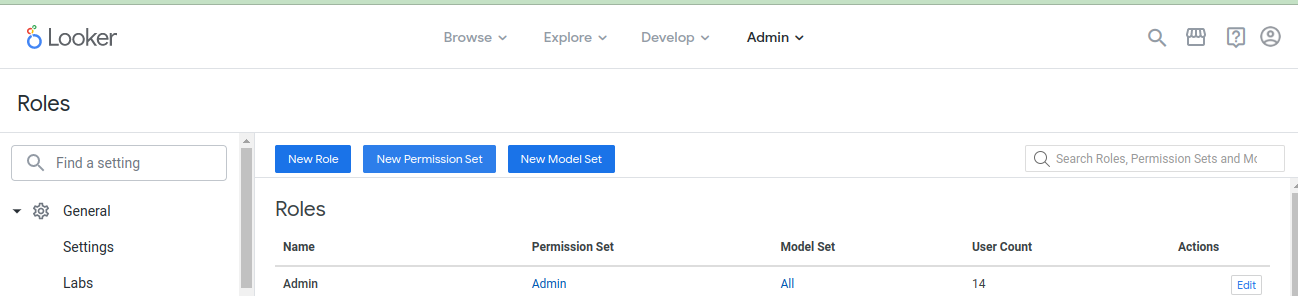
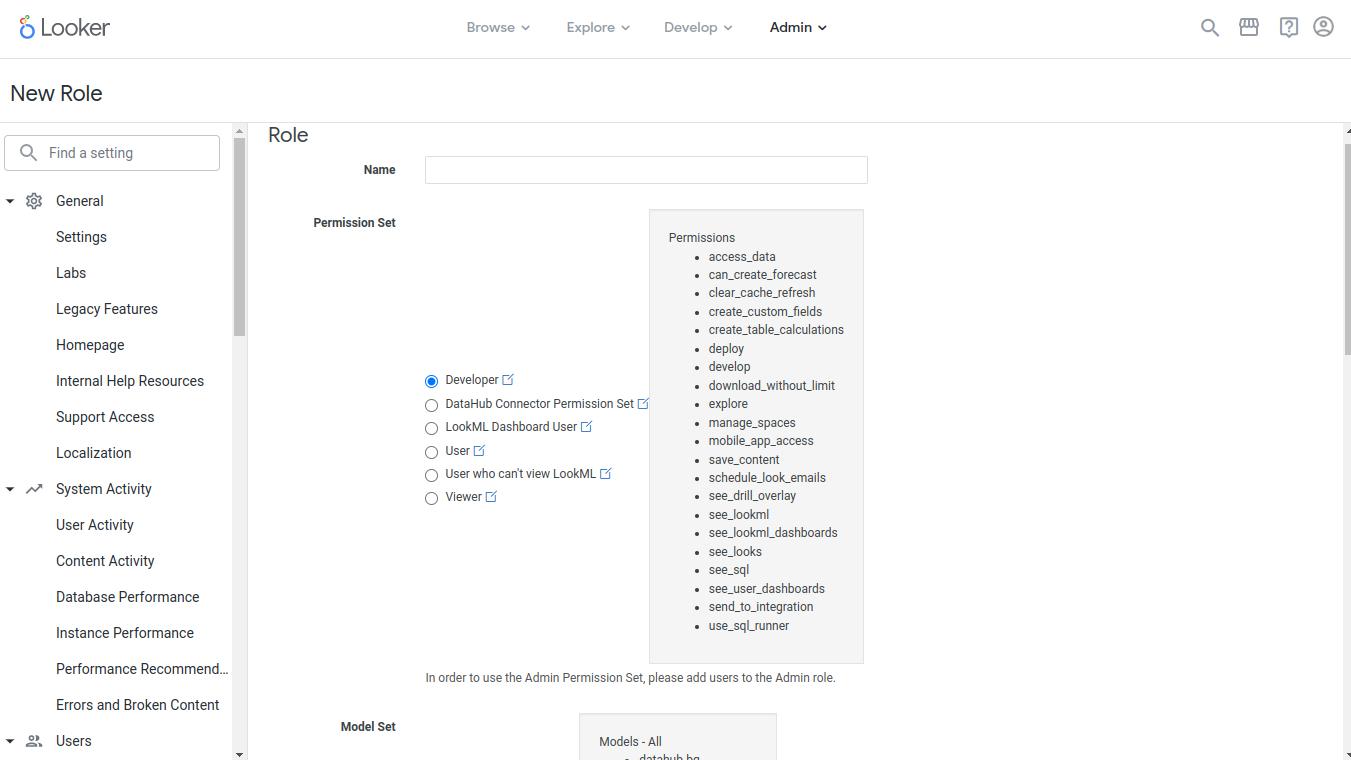
Create A New Permission Set
On Roles Panel, click New Permission Set.
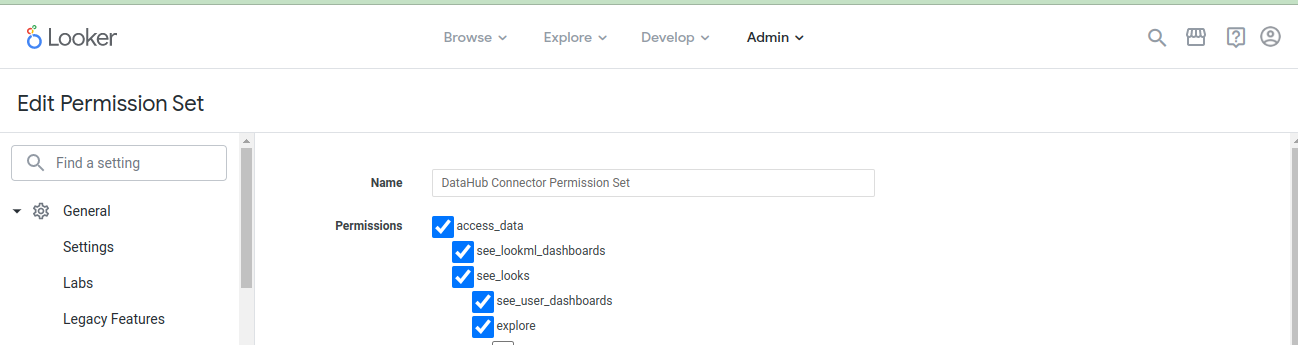
Set a name for the new permission set (e.g., DataHub Connector Permission Set) and select the following permissions.
Permission List
- access_data
- see_lookml_dashboards
- see_looks
- see_user_dashboards
- explore
- see_sql
- see_lookml
- clear_cache_refresh
- manage_models
- see_datagroups
- see_pdts
- see_queries
- see_schedules
- see_system_activity
- see_users
After selecting all permissions mentioned above, click New Permission Set at the bottom of the page.
Create A Role
On the Roles Panel, click New Role.
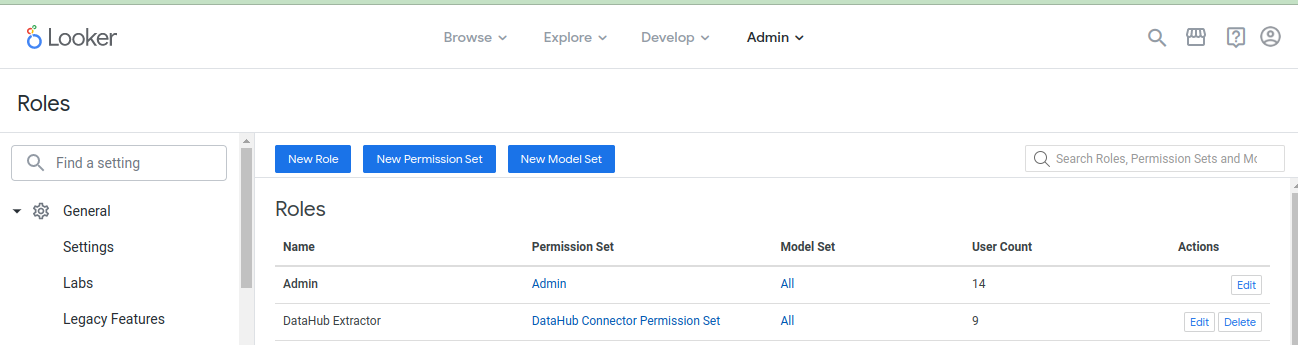
Set the name for the new role (e.g., DataHub Extractor) and set the following fields on this window.
- Set Permission Set to permission set created in previous step (i.e DataHub Connector Permission Set)
- Set Model Set to
All
Finally, click New Role at the bottom of the page.
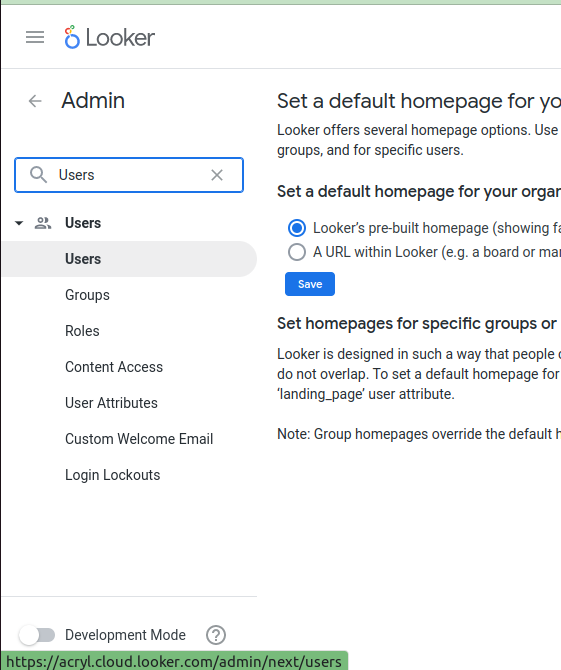
Create A New User
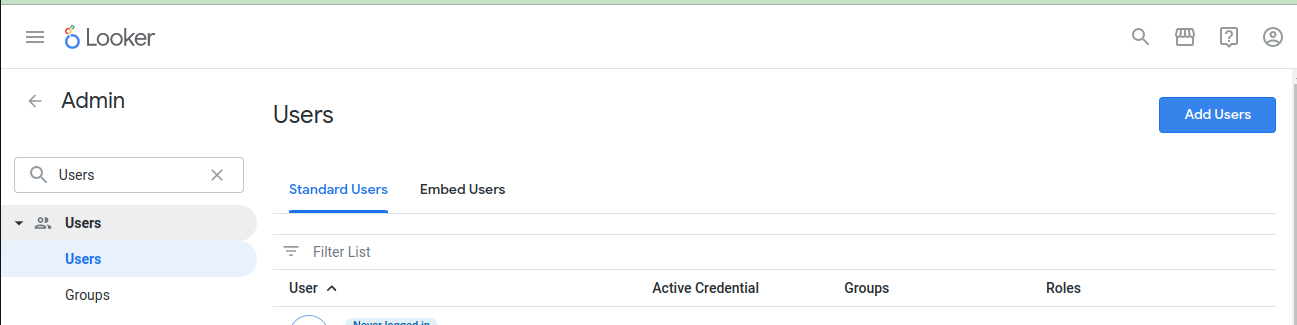
On the Admin Panel, click Users to open the users panel.
Click Add Users.
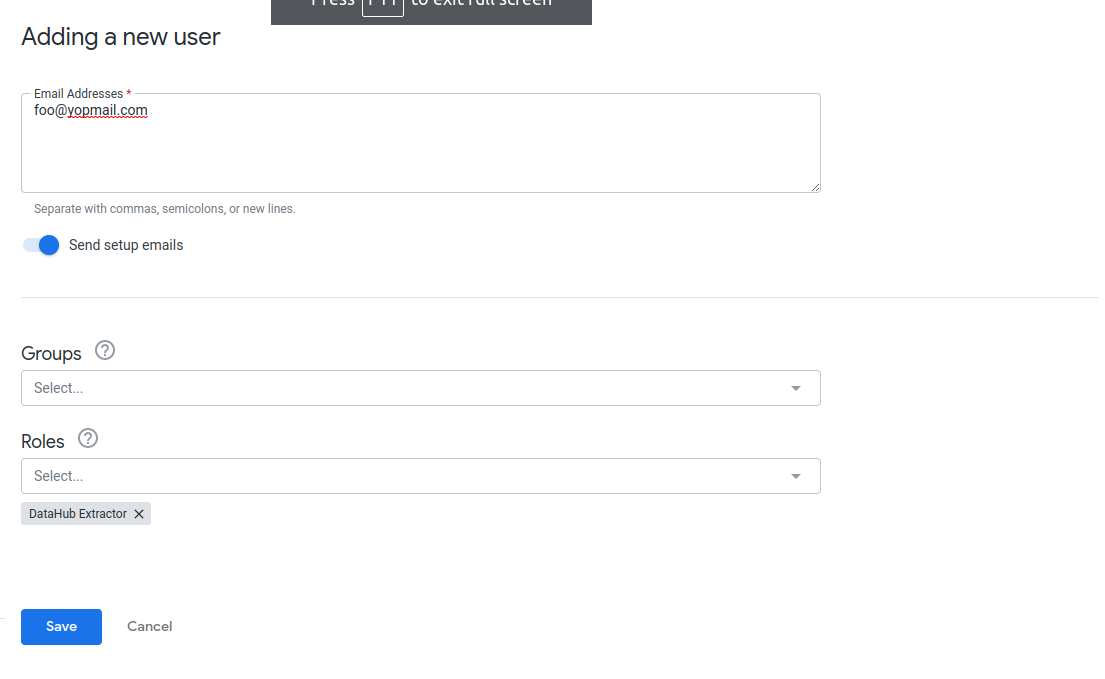
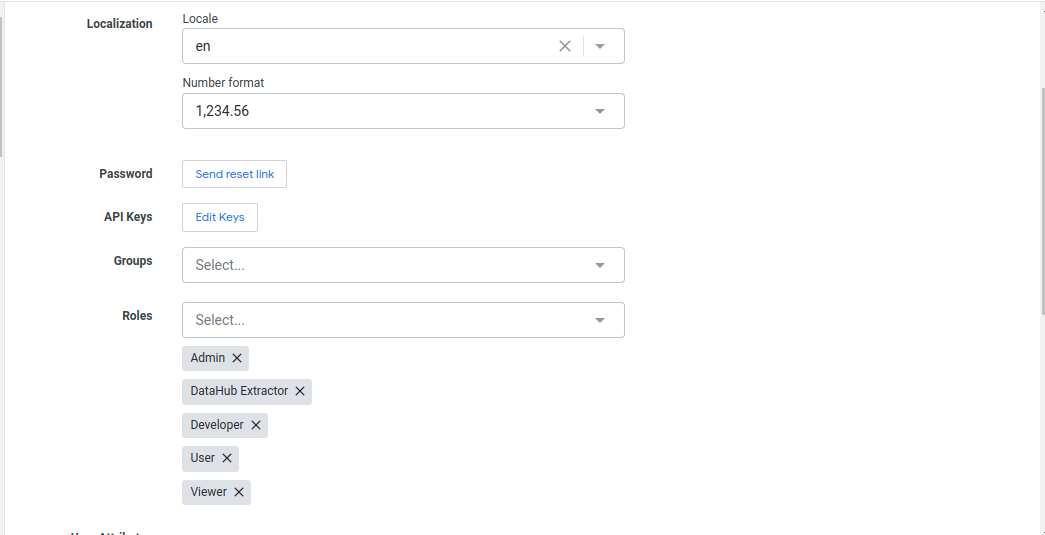
On Adding a new user, set details in the following fields.
- Add user's Email Addresses.
- Set Roles to the role created in previous step (e.g. DataHub Extractor)
Finally, click Save.
Create An API Key
On the User Panel, click on the newly created user.

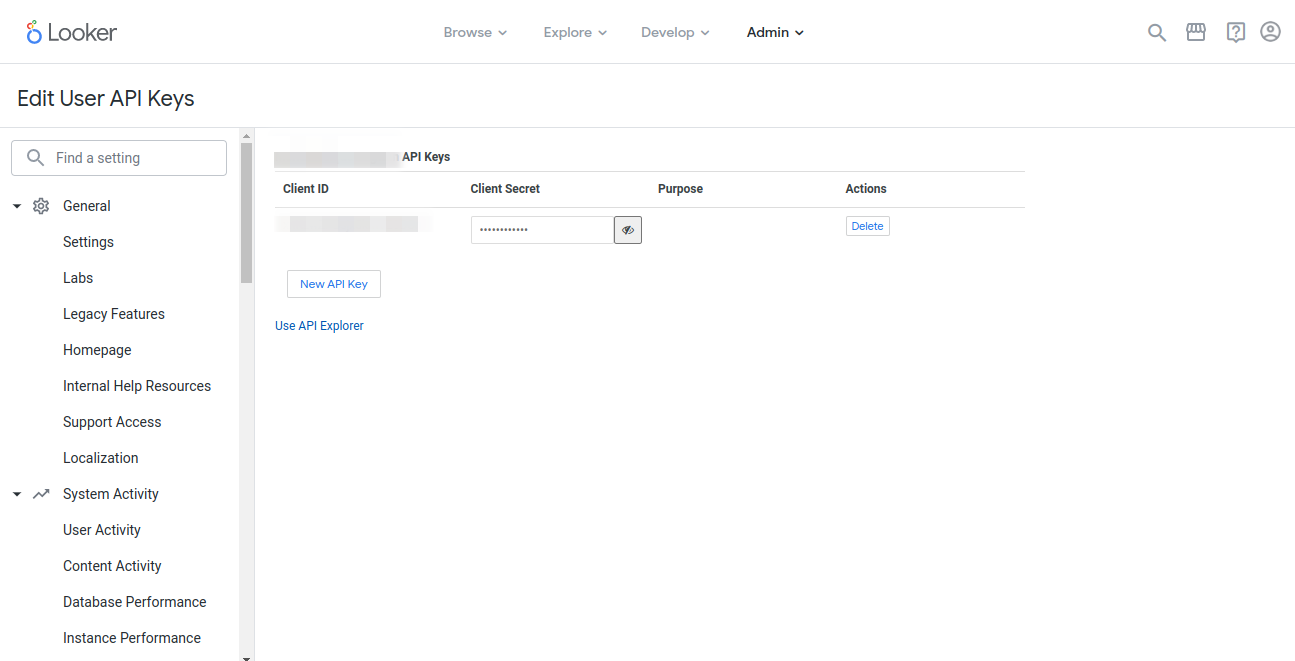
Click Edit Keys to open the API Key Panel.
On the API Key Panel, click New API Key to generate a new Client ID and Client Secret.
LookML Prerequisites
Follow the below steps to create the GitHub Deploy Key.
Generate a private-public SSH key pair
ssh-keygen -t rsa -f looker_datahub_deploy_key
# If prompted, don't add a passphrase to the key
This will typically generate two files like the one below.
looker_datahub_deploy_key(private key)looker_datahub_deploy_key.pub(public key)
Add Deploy Key to GitHub Repository
First, log in to GitHub.
Navigate to GitHub Repository -> Settings -> Deploy Keys and add a public key (e.g. looker_datahub_deploy_key.pub) as deploy key with read access.
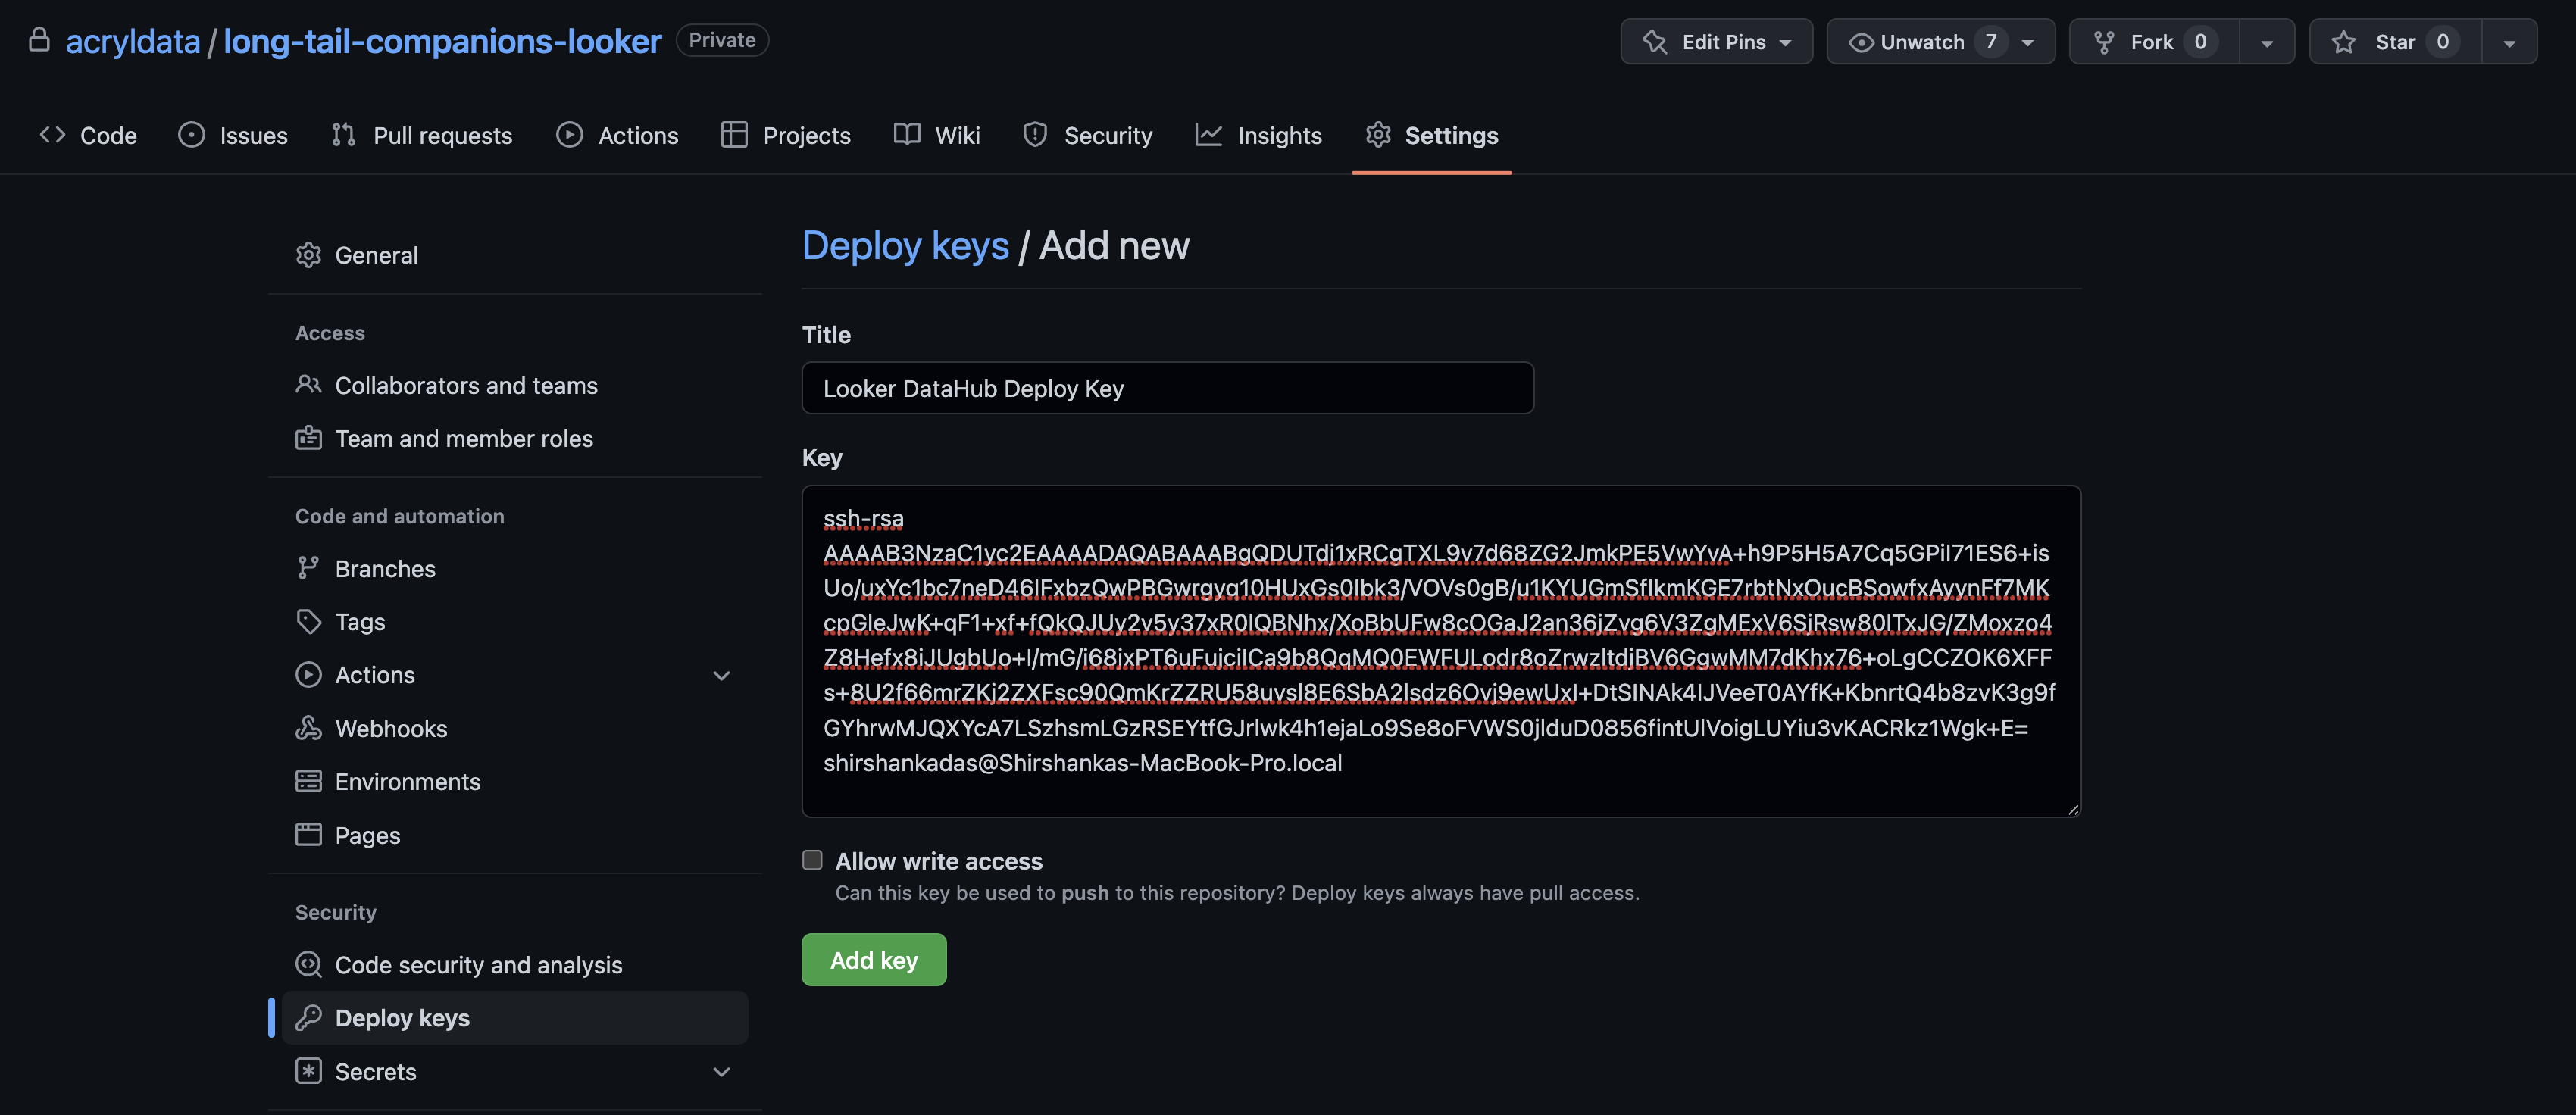
Make a note of the private key file. You must paste the file's contents into the GitHub Deploy Key field later while configuring ingestion on the DataHub Portal.
Next Steps
Once you've done all the above steps, it's time to move on to configuring the actual ingestion source within DataHub.