Running Airflow locally with DataHub
This guide is currently unmaintained. As of 0.10.0 the container described is not published alongside the DataHub CLI. If you'd like to use it, please reach out to us on the community slack.
Running Airflow locally with DataHub
Introduction
This document describes how you can run Airflow side-by-side with DataHub's quickstart docker images to test out Airflow lineage with DataHub. This offers a much easier way to try out Airflow with DataHub, compared to configuring containers by hand, setting up configurations and networking connectivity between the two systems.
Prerequisites
- Docker: ensure that you have a working Docker installation and you have at least 8GB of memory to allocate to both Airflow and DataHub combined.
docker info | grep Memory

> Total Memory: 7.775GiB
- Quickstart: Ensure that you followed quickstart to get DataHub up and running.
Step 1: Set up your Airflow area
- Create an area to host your airflow installation
- Download the docker-compose file hosted in DataHub's repo in that directory
- Download a sample dag to use for testing Airflow lineage
mkdir -p airflow_install
cd airflow_install
# Download docker-compose file
curl -L 'https://raw.githubusercontent.com/datahub-project/datahub/master/docker/airflow/docker-compose.yaml' -o docker-compose.yaml
# Create dags directory
mkdir -p dags
# Download a sample DAG
curl -L 'https://raw.githubusercontent.com/datahub-project/datahub/master/metadata-ingestion/src/datahub_provider/example_dags/lineage_backend_demo.py' -o dags/lineage_backend_demo.py
What is different between this docker-compose file and the official Apache Airflow docker compose file?
- This docker-compose file is derived from the official Airflow docker-compose file but makes a few critical changes to make interoperability with DataHub seamless.
- The Airflow image in this docker compose file extends the base Apache Airflow docker image and is published here. It includes the latest
acryl-datahubpip package installed by default so you don't need to install it yourself. - This docker-compose file sets up the networking so that
- the Airflow containers can talk to the DataHub containers through the
datahub_networkbridge interface. - Modifies the port-forwarding to map the Airflow Webserver port
8080to port58080on the localhost (to avoid conflicts with DataHub metadata-service, which is mapped to 8080 by default)
- the Airflow containers can talk to the DataHub containers through the
- This docker-compose file also sets up the ENV variables to configure Airflow's Lineage Backend to talk to DataHub. (Look for the
AIRFLOW__LINEAGE__BACKENDandAIRFLOW__LINEAGE__DATAHUB_KWARGSvariables)
Step 2: Bring up Airflow
First you need to initialize airflow in order to create initial database tables and the initial airflow user.
docker compose up airflow-init
You should see the following final initialization message
airflow-init_1       | Admin user airflow created
airflow-init_1       | 2.1.3
airflow_install_airflow-init_1 exited with code 0
Afterwards you need to start the airflow docker compose
docker compose up
You should see a host of messages as Airflow starts up.
Container airflow_deploy_airflow-scheduler_1  Started                                                                               15.7s
Attaching to airflow-init_1, airflow-scheduler_1, airflow-webserver_1, airflow-worker_1, flower_1, postgres_1, redis_1
airflow-worker_1     | BACKEND=redis
airflow-worker_1     | DB_HOST=redis
airflow-worker_1     | DB_PORT=6379
airflow-worker_1     |
airflow-webserver_1  |
airflow-init_1       | DB: postgresql+psycopg2://airflow:***@postgres/airflow
airflow-init_1       | [2021-08-31 20:02:07,534] {db.py:702} INFO - Creating tables
airflow-init_1       | INFO  [alembic.runtime.migration] Context impl PostgresqlImpl.
airflow-init_1       | INFO  [alembic.runtime.migration] Will assume transactional DDL.
airflow-scheduler_1  |   ____________       _____________
airflow-scheduler_1  |  ____    |__( )_________  __/__  /________      __
airflow-scheduler_1  | ____  /| |_  /__  ___/_  /_ __  /_  __ \_ | /| / /
airflow-scheduler_1  | ___  ___ |  / _  /   _  __/ _  / / /_/ /_ |/ |/ /
airflow-scheduler_1  |  _/_/  |_/_/  /_/    /_/    /_/  \____/____/|__/
airflow-scheduler_1  | [2021-08-31 20:02:07,736] {scheduler_job.py:661} INFO - Starting the scheduler
airflow-scheduler_1  | [2021-08-31 20:02:07,736] {scheduler_job.py:666} INFO - Processing each file at most -1 times
airflow-scheduler_1  | [2021-08-31 20:02:07,915] {manager.py:254} INFO - Launched DagFileProcessorManager with pid: 25
airflow-scheduler_1  | [2021-08-31 20:02:07,918] {scheduler_job.py:1197} INFO - Resetting orphaned tasks for active dag runs
airflow-scheduler_1  | [2021-08-31 20:02:07,923] {settings.py:51} INFO - Configured default timezone Timezone('UTC')
flower_1             |
airflow-worker_1     |  * Serving Flask app "airflow.utils.serve_logs" (lazy loading)
airflow-worker_1     |  * Environment: production
airflow-worker_1     |    WARNING: This is a development server. Do not use it in a production deployment.
airflow-worker_1     |    Use a production WSGI server instead.
airflow-worker_1     |  * Debug mode: off
airflow-worker_1     | [2021-08-31 20:02:09,283] {_internal.py:113} INFO -  * Running on http://0.0.0.0:8793/ (Press CTRL+C to quit)
flower_1             | BACKEND=redis
flower_1             | DB_HOST=redis
flower_1             | DB_PORT=6379
flower_1             |
Finally, Airflow should be healthy and up on port 58080. Navigate to http://localhost:58080 to confirm and find your Airflow webserver. The default username and password is:
airflow:airflow
Step 3: Register DataHub connection (hook) to Airflow
docker exec -it `docker ps | grep webserver | cut -d " " -f 1` airflow connections add --conn-type 'datahub_rest' 'datahub_rest_default' --conn-host 'http://datahub-gms:8080'
Result
Successfully added `conn_id`=datahub_rest_default : datahub_rest://:@http://datahub-gms:8080:
What is the above command doing?
- Find the container running airflow webserver:
docker ps | grep webserver | cut -d " " -f 1 - Running the
airflow connections add ...command inside that container to register thedatahub_restconnection type and connect it to thedatahub-gmshost on port 8080. - Note: This is what requires Airflow to be able to connect to
datahub-gmsthe host (this is the container running datahub-gms image) and this is why we needed to connect the Airflow containers to thedatahub_networkusing our custom docker-compose file.
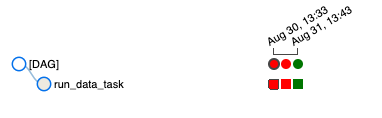
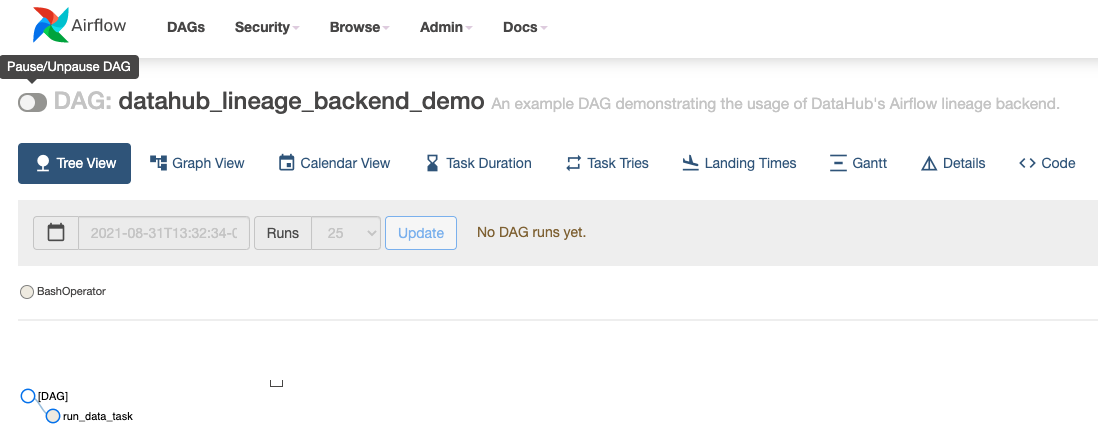
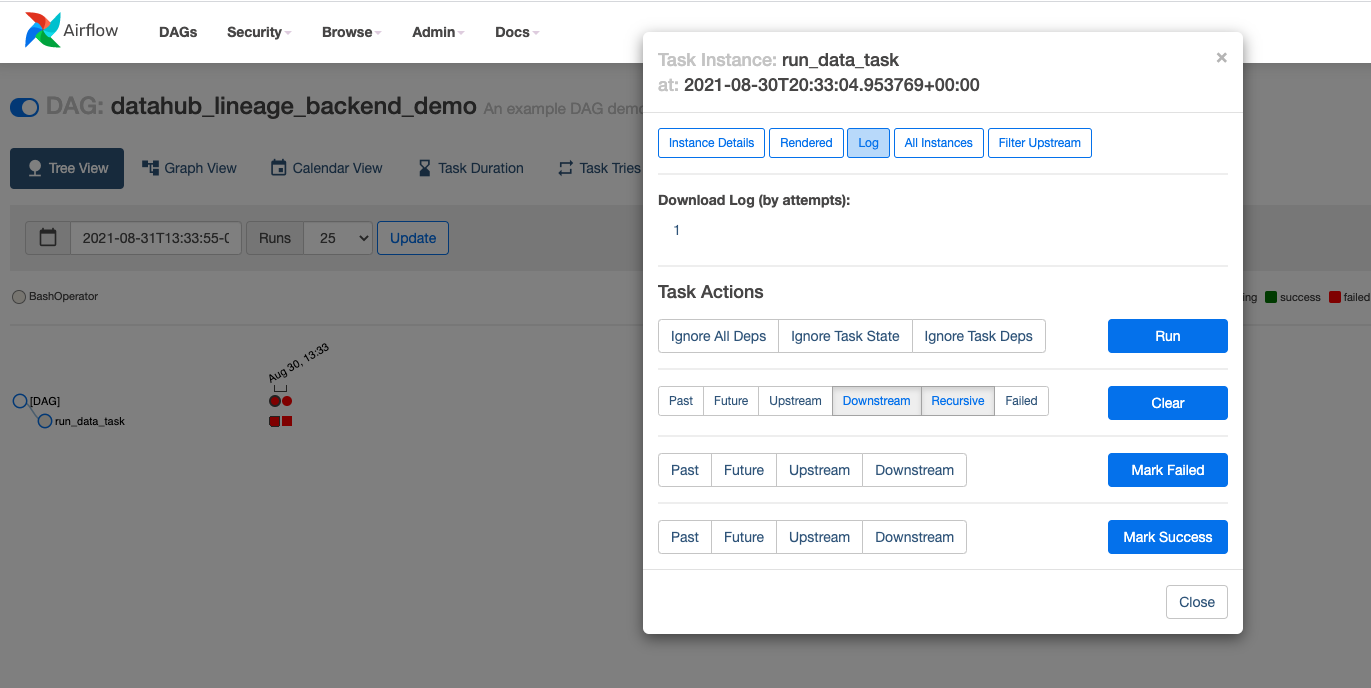
Step 4: Find the DAGs and run it
Navigate the Airflow UI to find the sample Airflow dag we just brought in
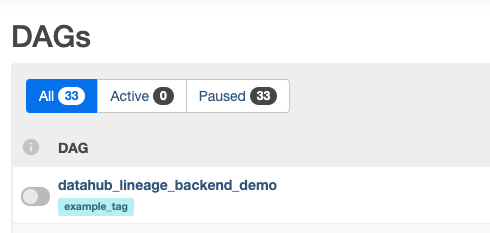
By default, Airflow loads all DAG-s in paused status. Unpause the sample DAG to use it.
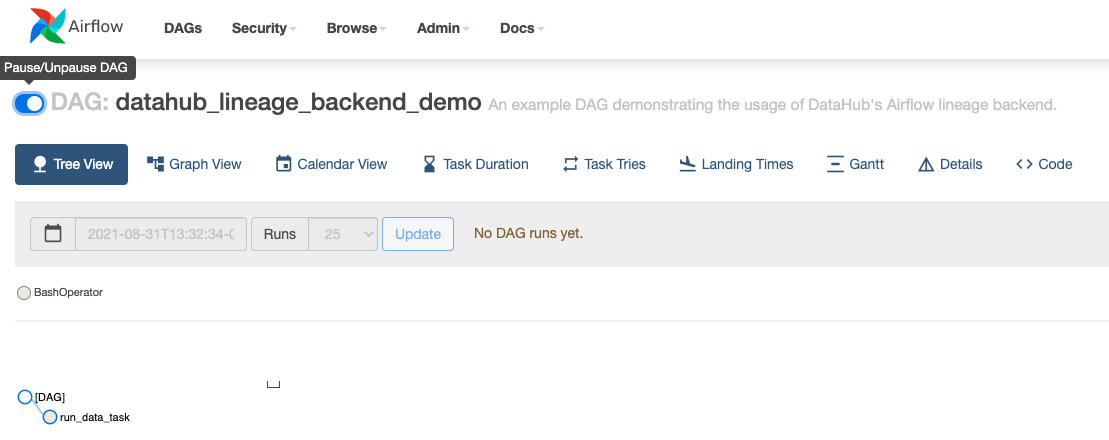
Then trigger the DAG to run.

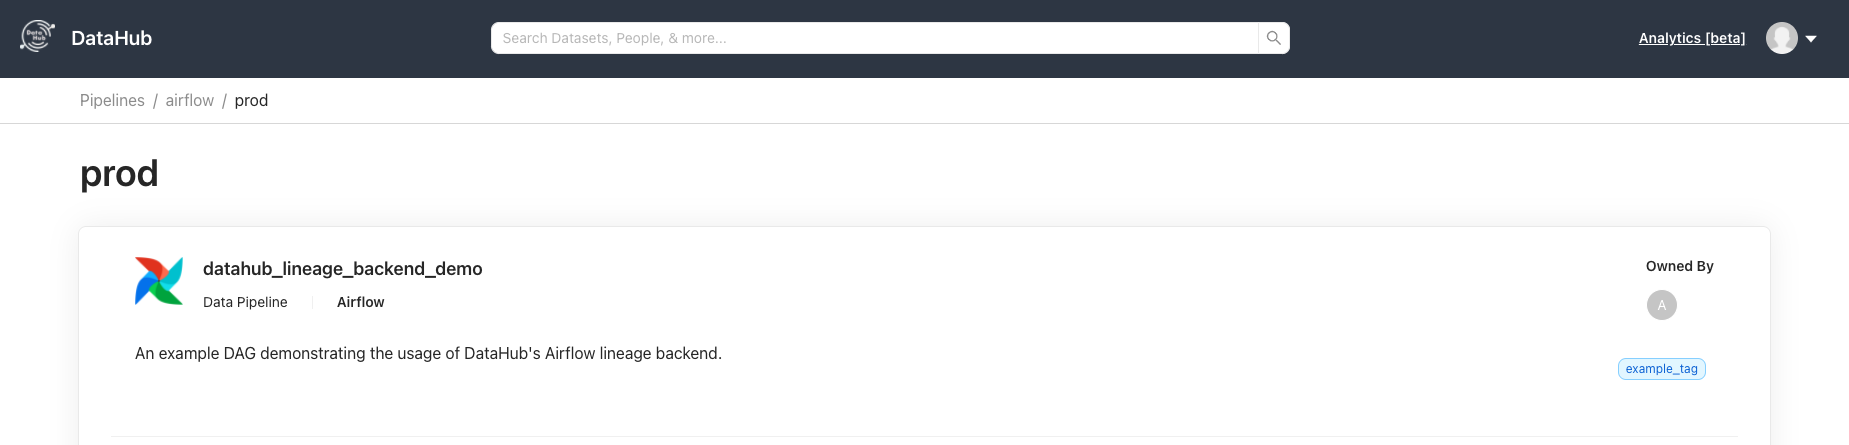
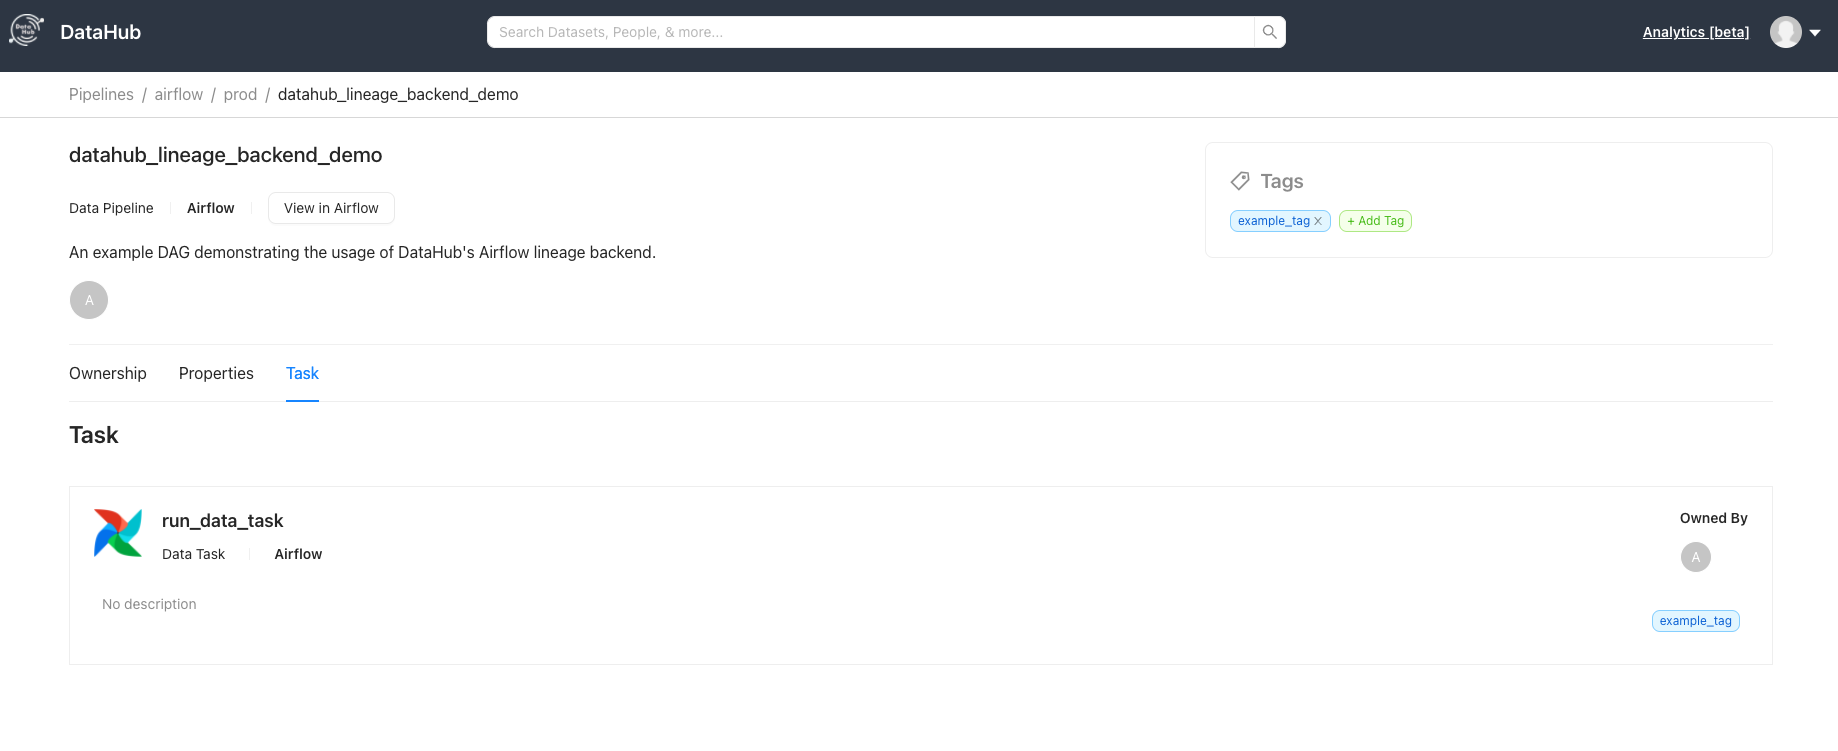
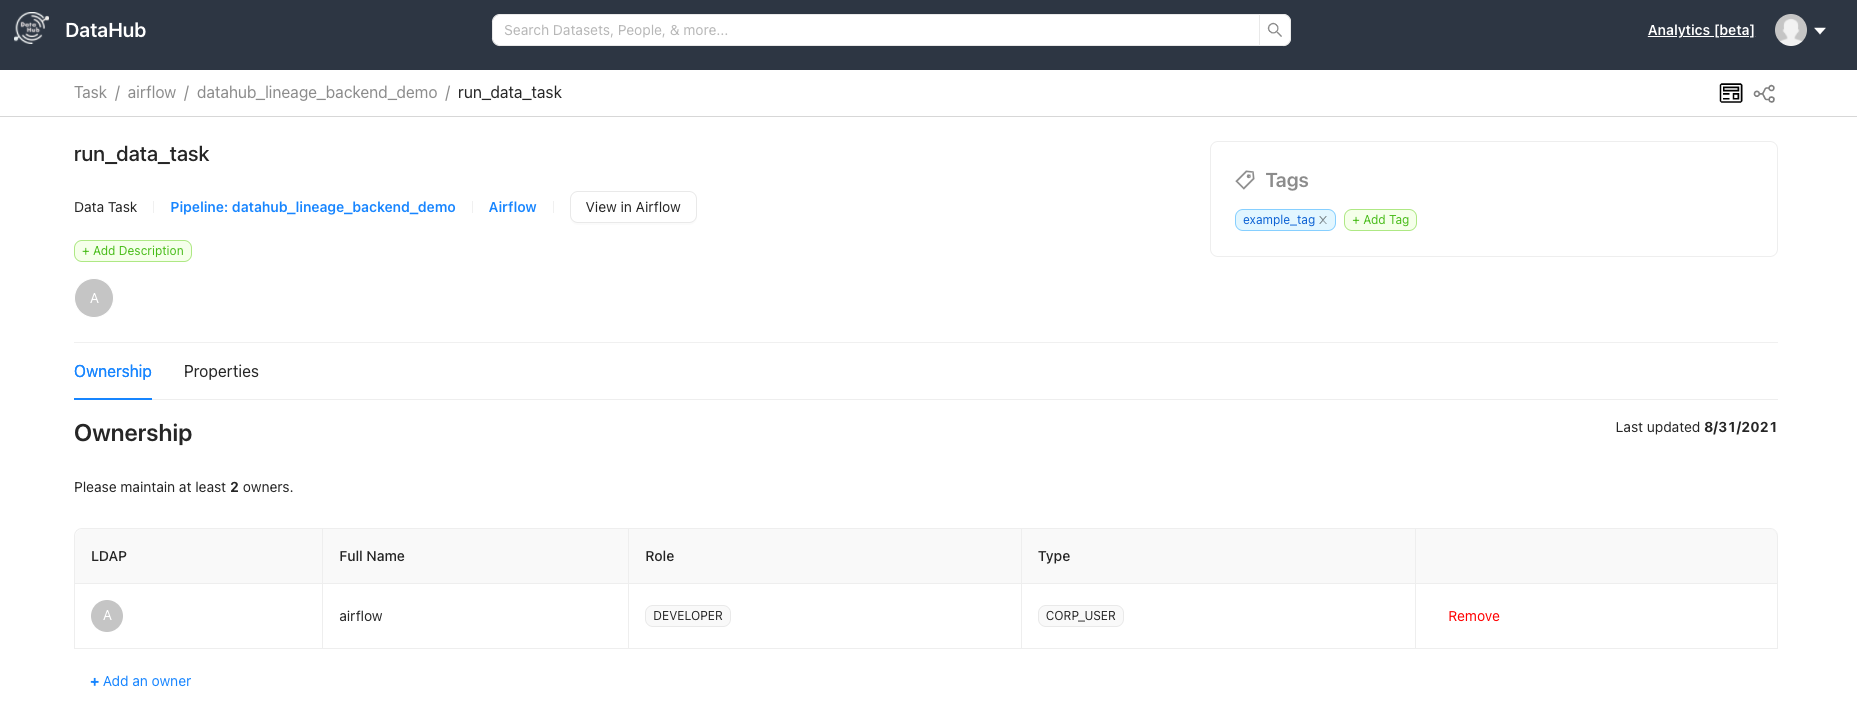
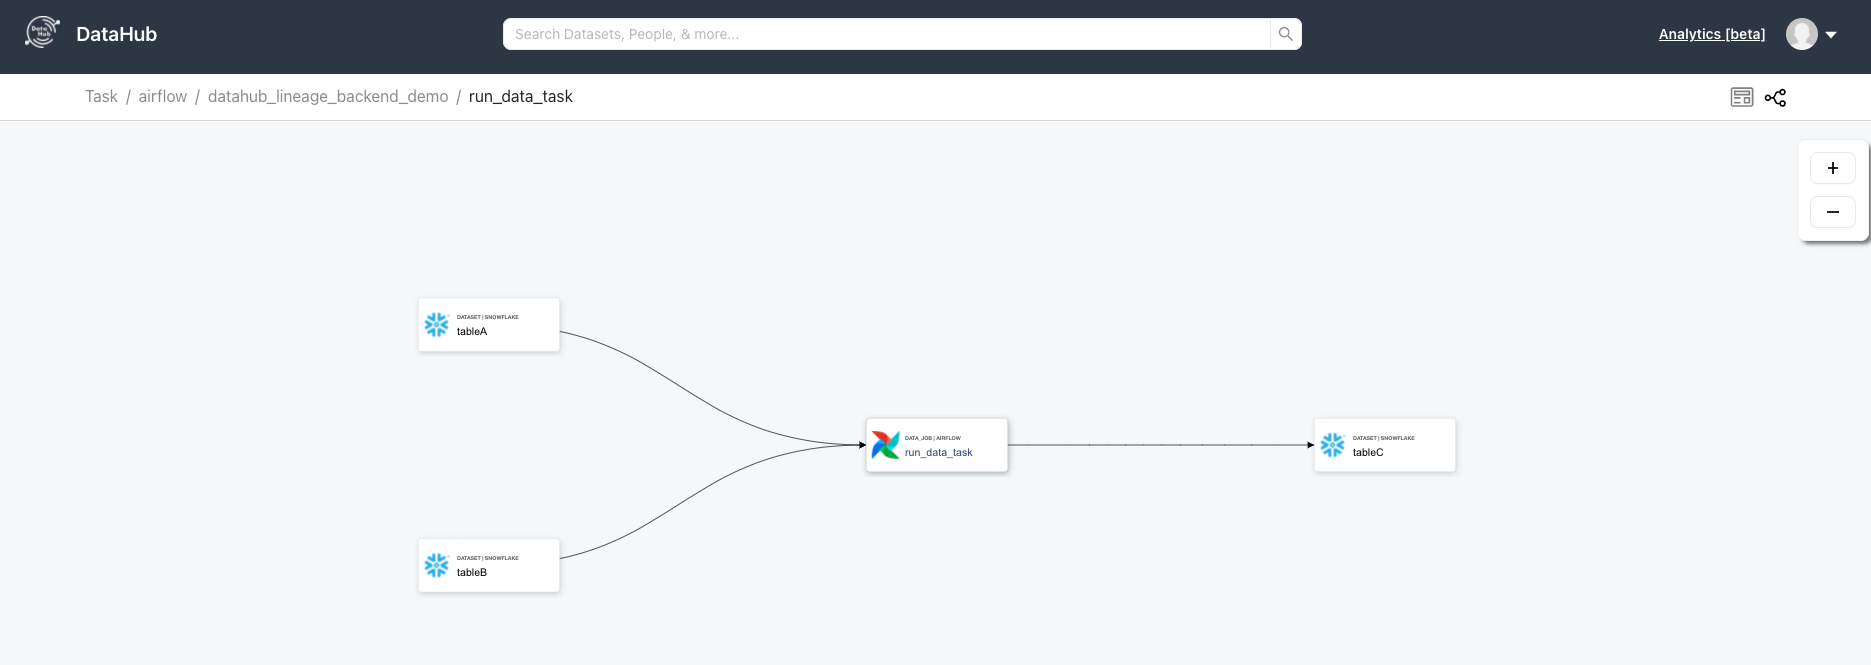
After the DAG runs successfully, go over to your DataHub instance to see the Pipeline and navigate its lineage.
TroubleShooting
Most issues are related to connectivity between Airflow and DataHub.
Here is how you can debug them.
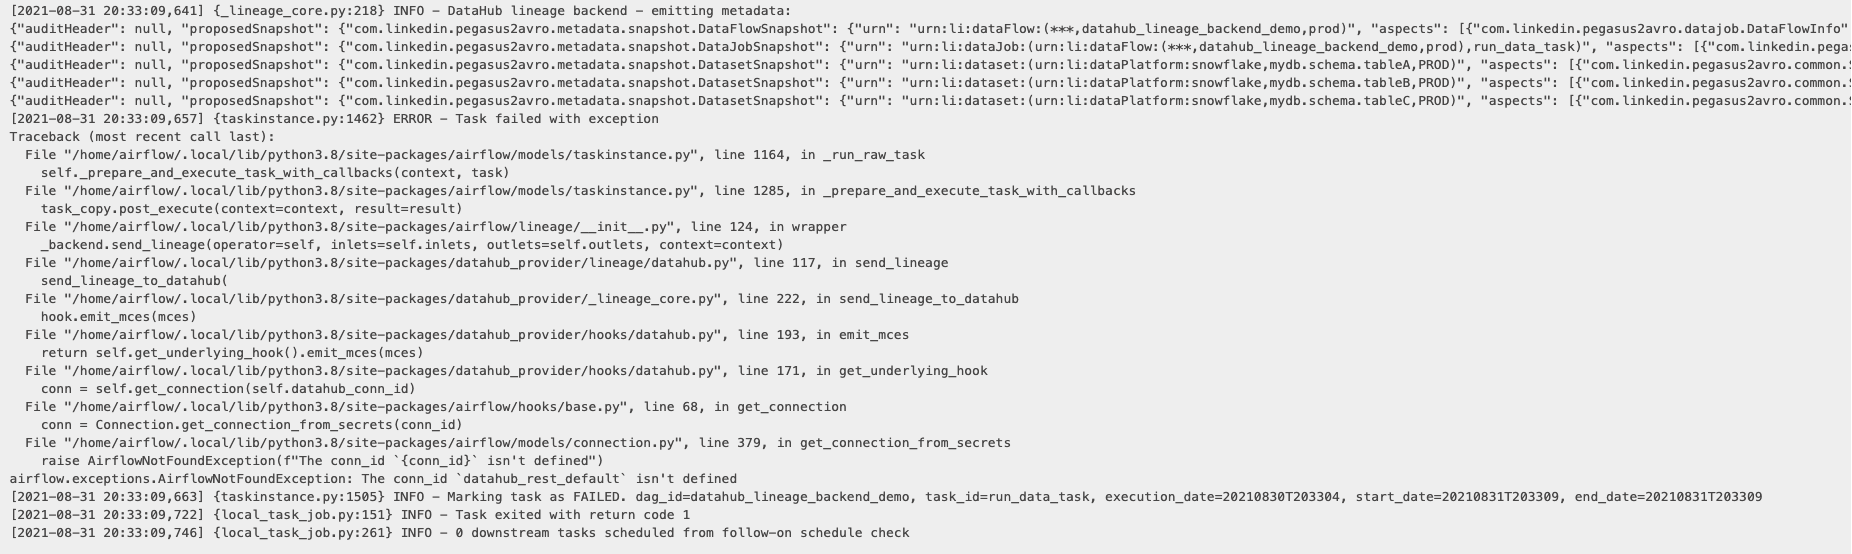
In this case, clearly the connection datahub-rest has not been registered. Looks like we forgot to register the connection with Airflow!
Let's execute Step 4 to register the datahub connection with Airflow.
In case the connection was registered successfully but you are still seeing Failed to establish a new connection, check if the connection is http://datahub-gms:8080 and not http://localhost:8080.
After re-running the DAG, we see success!